Stenciled Monogram with a Layer Mask
by Jenifer Juris
Give your monogram a stenciled look by adding a layer mask.
For this tutorial you will need:
- Adobe Photoshop or Photoshop Elements
This tutorial works well with most font types but it may not be as easy with all letter combinations. You may have to spend some time trying different letters and fonts to get the right look for your project.
Step One: Prepare the Workspace
- Create a new 4×4 inch document (File > New > Blank File) at 300 ppi with a white background. (PS: Choose File > New.)
- Press the letter D to reset the Color Chips to the default of black over white.
Step Two: Add a Letter
- Get the Horizontal Type tool.
- In the Tool Options, open the Font Picker and pick a font of your choice. I’m using BentonModDisp Light. Set the Size to 150 pts and the Alignment to Center.
NOTE: You may have to adjust your font size depending on the font you use.
- On the document, click to place the cursor a little left and a little above the center of the document.
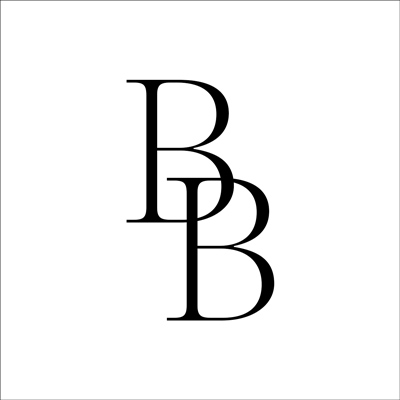
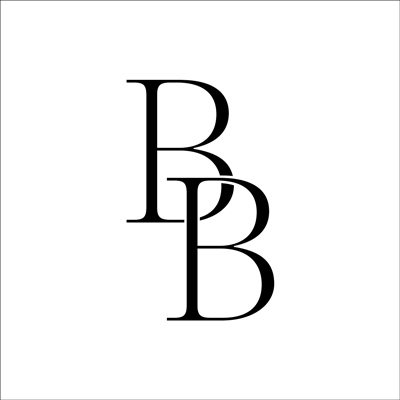
- Type one letter. I’m using the letter B.
- To reposition the letter, hold down the Ctrl key (Mac: Cmd key) and click and drag inside the bounding box.
- Click the checkmark to commit.

Step Three: Add Another Letter
- Get the Horizontal Type tool. Keep all the settings the same.
- On the document, Shift click to place the cursor a little right and a little below the center of the document.
- Type one letter. I’m using the letter B again.
NOTE: Holding down the Shift key while placing the cursor will make sure the new type layer does not interfere with previous type layers.
- To reposition the letter, hold down the Ctrl key (Mac: Cmd key) and click and drag inside the bounding box.
- Click the checkmark to commit.
- Get the Move tool.
- Use the Arrow keys to nudge your second letter into place if needed.
Step Four: Mask the Overlapping Portion
- In the Layers panel, Ctrl click (Mac: Cmd click) on the thumbnail of the top letter layer.
- In the Menu Bar, choose Select > Modify > Expand.
- In the dialog box, set the Expand By to 7 px. Click OK.
- In the Layers panel, click on the bottom letter layer to make it the active layer.
- In the Layers panel, while holding down the Alt key (Mac: Opt key) click on the Add Layer Mask icon.
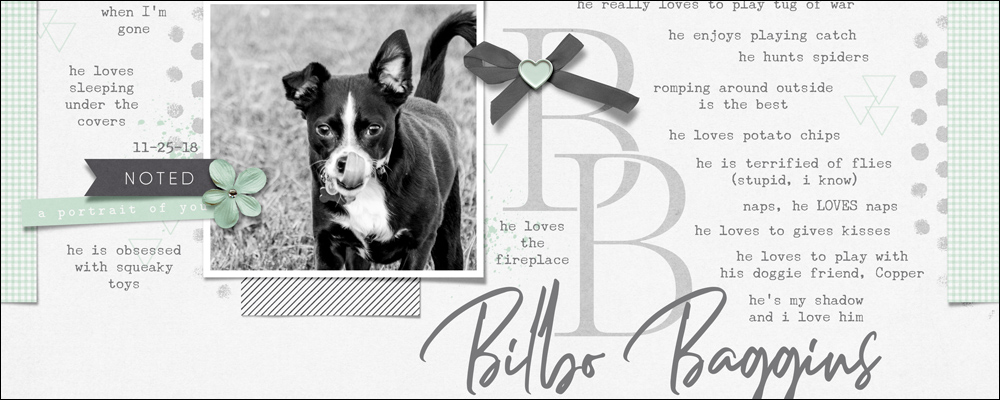
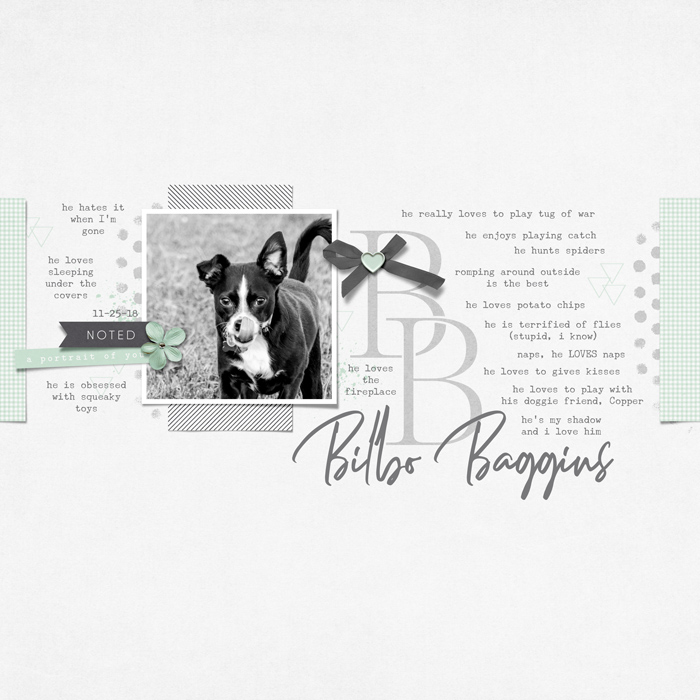
Step Five: Use in a Project
For this step to work properly, you must already have a saved or unsaved document started that will contain your project using the stenciled monogram letters. Duplicate these two letter layers to your project document by doing the following:
- In the Layers panel, Shift click on the top letter layer so that both letter layers are active.
- In the Layers panel, Right click (Mac: Ctrl click) on the layer names, not the thumbnails, and choose Duplicate Layers.
- In the dialog box, set the Destination to your project’s document and click OK.
NOTE: You may need to resize your letter layers larger or smaller depending on your project.
Here is how I used my Stenciled Monogram letters:
Here’s a Christmas card I made using the same technique:

Credits:
Page & Photo: Jenifer Juris
Tutorial: Stenciled Monogram by Jenifer Juris
Kit: Duly Noted by One Little Bird
Extras: Paint from Artisan by One Little Bird
Fonts: BentonModDisp, Underwood Champion, Dellamonde
Card: Jenifer Juris
Tutorial: Stenciled Monogram by Jenifer Juris
Kit: Christmas Chic by Studio New Life Designs
Fonts: BentonModDisp, Amelia Script

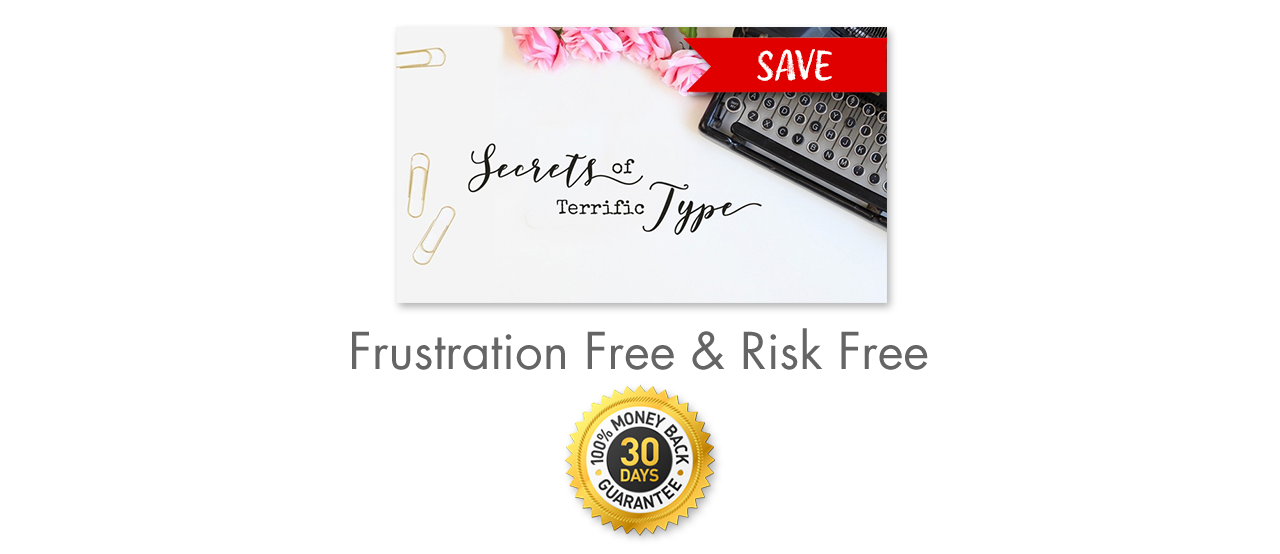
Learn how to create impeccably crafted type
and attention-grabbing word art.
Save 15% on Secrets of Terrific Type
_____________________________________________
 Author: Jenifer Juris | Contact Us
All comments are moderated.
Please allow time for your comment to appear.
4 Responses
Linda
It’s a good design, I think the color matching is great, too. Wow! At first glance, it feels very harmonious. I like your color matching.
This is very helpful for my book design. Thank you.
Threadjungle
It was a little confusing knowing which letter I was working on being that they were both “B”. Maybe an example with 2 different letters would be helpful. Love the idea of the stenciled monogram.
Jenifer Juris
Thanks so much for the feedback! 🙂
Beverly Thiels
I love the stenciled monogram tutorial. It’s so neat and fun to do. Thank you.