Peekaboo Paper with Select and Mask
by Jen White
Gain a greater understanding of masking and selecting by creating a peekaboo effect with stacked papers and a drop shadow. It will wow your friends and add a unique quality to your next digital project.
For this tutorial you’ll need:
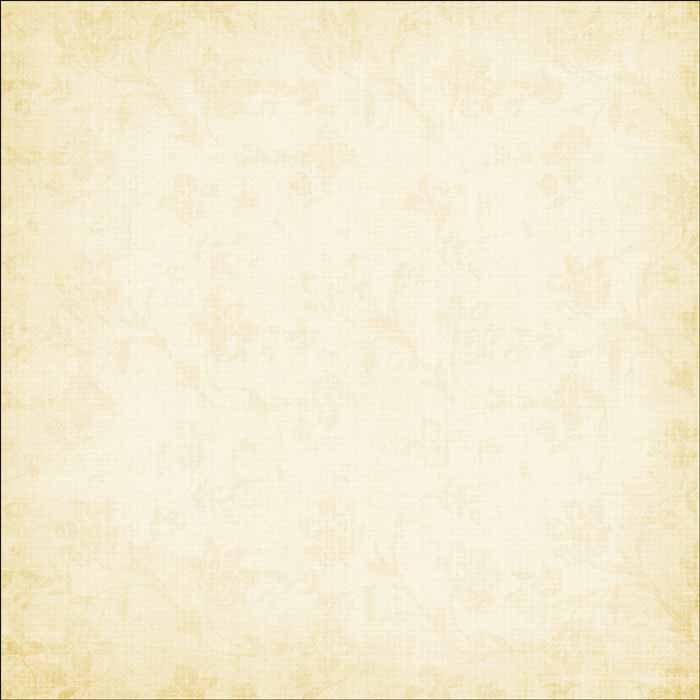
- A solid background paper
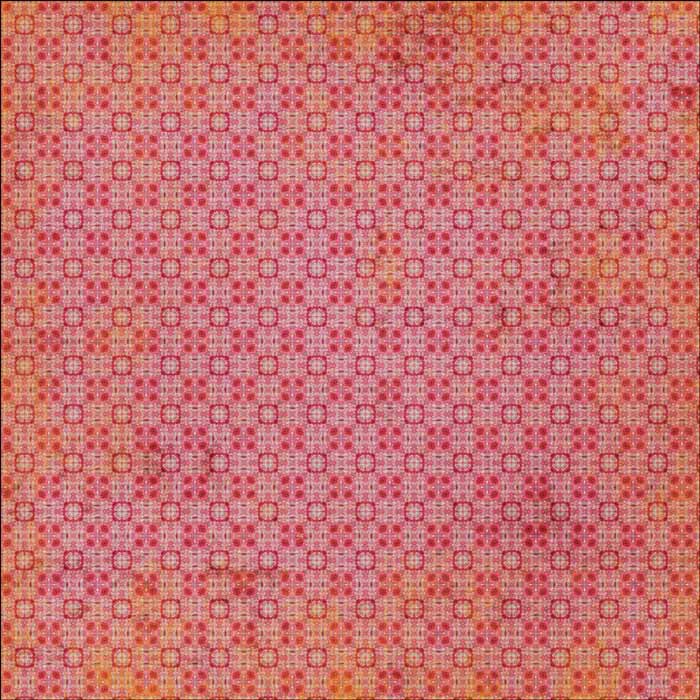
- A coordinating small-patterned background paper
- Photoshop Elements or Adobe Photoshop
If you’d like to follow along exactly, download the papers I’m using here.
Step One: Stack Two Papers
- Open a patterned paper (File > Open).
- Open a plain paper.
- Get the Move tool.
- Holding down the Shift key, click and drag the plain paper onto the patterned paper.
NOTE: Holding down the Shift key while adding something to a document ensures that the item will land in the center of the document.
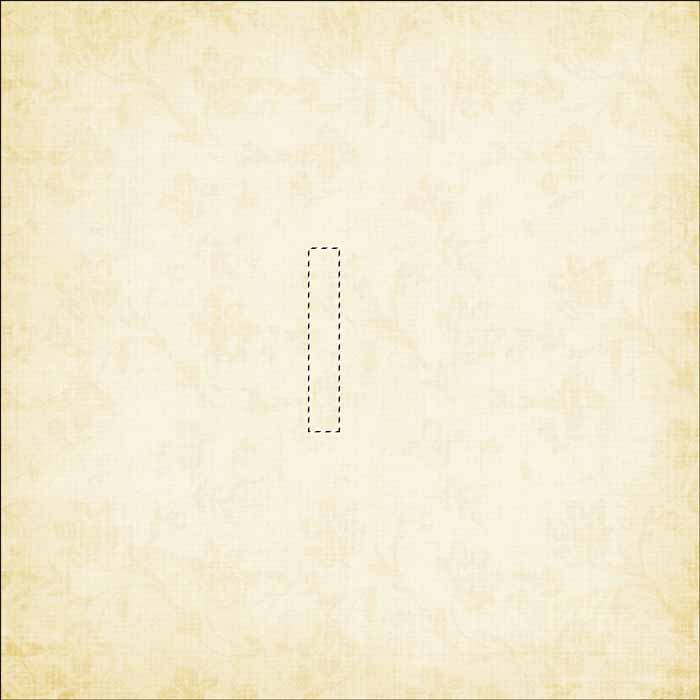
Step Two: Create an Initial Selection
- Get the Rectangular Marquee tool.
- In the Tool Options, click on the New Selection icon and check Anti-aliasing. Set the Feather to 0 and the Aspect to Normal. (PS: Set the Style to Normal.)
- On the document, click and drag out a rectangle. To create a perfect square, hold down the Shift key while you click and drag.
NOTE: My rectangle is approximately 1/2″ x 2 1/2″.
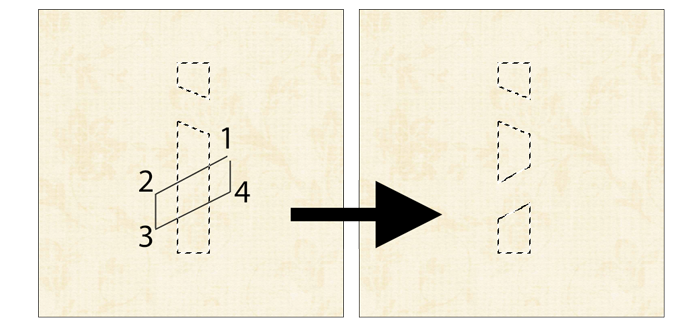
Step Three: Subtract from the Selection
- Get the Polygonal Lasso tool.
- In the Tool Options, click on the Subtract From Selection icon, set the Feather to 0 px, and check Anti-aliasing.
- On the document, click to place the beginning of the first segment to the left of the existing selection as shown in the image below.
- Place the beginning of the second segment to the right of the existing selection as shown in the image below.
- Place the beginning of the third segment under the last one as shown in the image below.
- Place the beginning of the fourth segment under the first segment as shown in the image below.
- To close the selection, click at the beginning of the first segment.
- Repeat the instructions to subtract more of the selection.

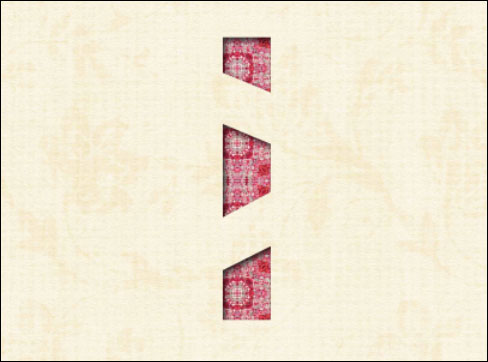
Step Four: Mask the Top Paper
- In the Layers panel, click on the plain paper layer to make it the active layer.
- In the Layers panel, hold down the Alt key (Mac: Opt key) and click on the Add Layer Mask icon.

Step Five: Add a Drop Shadow
- In the Layers panel, click on the top paper layer to make it the active layer.
Photoshop Elements Only:
- In the Menu Bar, choose Layer > Layer Style > Style Settings.
- In the dialog box, set the Lighting Angle to 120˚.
- Click on Drop Shadow to open the settings.
- Set the Size to 5, the Distance to 8, and the Opacity to 50.
- Click OK.
Photoshop Only:
- In the Menu Bar, choose Layer > Layer Style > Drop Shadow.
- In the dialog box, set the Blend Mode to Multiply, the Opacity to 50%, the Angle to 120˚, the Distance to 8, the Spread to 0, and the Size to 5.
- Click OK.
NOTE: Depending on the size of your masked area, the settings may need to be altered.
Step Six: Save the Document
- Save the document (File > Save As) as a layered PSD file with a unique name.
- Finish the project as desired.
Here is a greeting card I created using this tutorial.

Credits
Card: Hello Beautiful by Jen White
Qwik Tutorial: Peekaboo Paper with Select and Mask by Jen White
Kit: Bloomin Beauty by Anja Schernan
Fonts: Carlotta, Service Station
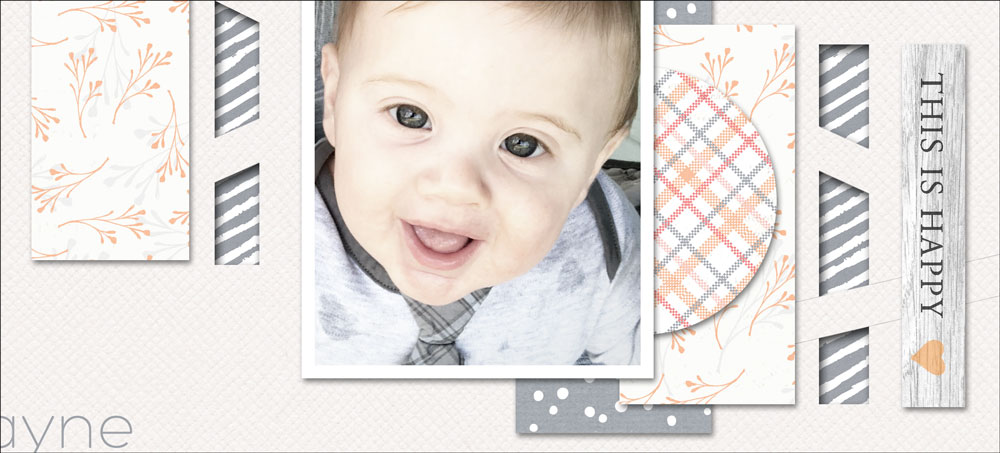
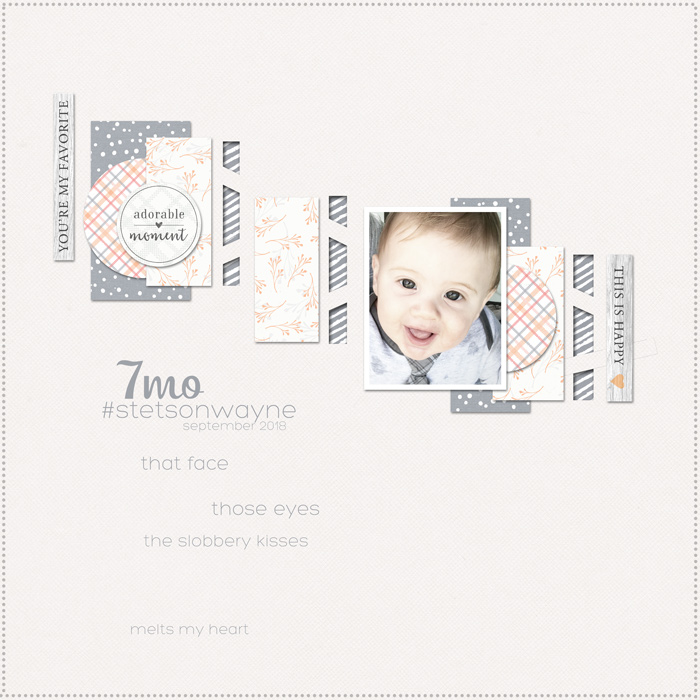
And here’s a scrapbook page I created using the same technique.
Credits
Page: Adorable Moment by Jen White
Inspired by fanon at TLP
Photo: Jen White
Qwik Tutorial: Peekaboo Paper with Select and Mask by Jen White
Kit: Beloved by Katie Pertiet
Fonts: Shaquilla, Hero Light

Master the 7 most popular (and powerful)
selection tools in Photoshop or Photoshop Elements.
Save 15% on Selections 1 for Photoshop Elements
Save 15% on Selections 1 for Photoshop
_____________________________________________
 Author: Jen White | Contact Us
All comments are moderated.
Please allow time for your comment to appear.
6 Responses
Kristy
Really great! thanks!
Joyce
Love this, Jen! Thank you so much!
Linda Replogle
Thanks. Love this.
Carol
Thank you, Jen! I Always, Always learn so much here. Perfect!
pjscraps
Delightful! The peek-a-boo cutout delightful. I want to run my finger across it to fell the cut edges. Thank you for yet another technique to add to my digi-scrapping folder of tricks.
Jessica Trotter
Love this tutorial! Really jazzes up a page and I really love the cut out effect! 🙂