
Bring the real life appearance of inked edges to your digital papers, embellishments, and photos. It’s super easy and non destructive. What’s not to love?
This is an Encore Tutorial. This tutorial was originally presented in August 2009 by Sara Horton. The original tutorial has been refurbished to reflect new software versions and current standards. Enjoy!
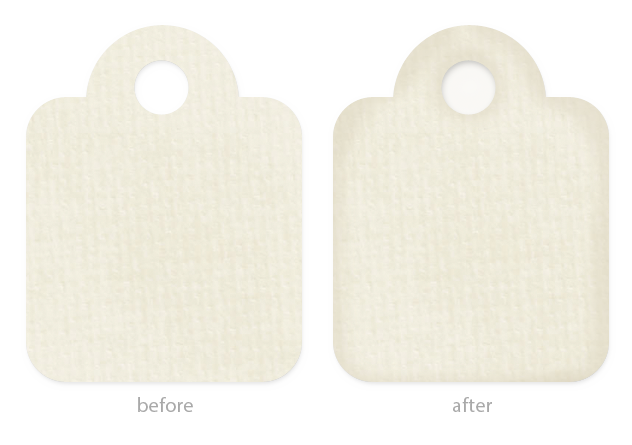
There are two methods of inking presented in this tutorial—brushed edges and burned edges. So, make sure and try them both!
Method 1: Brushed Ink Edges
Step One: Open a File and Prepare the Workspace
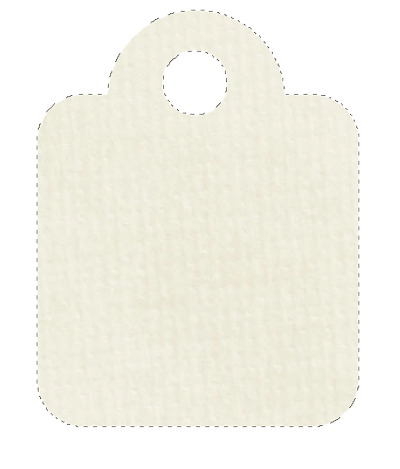
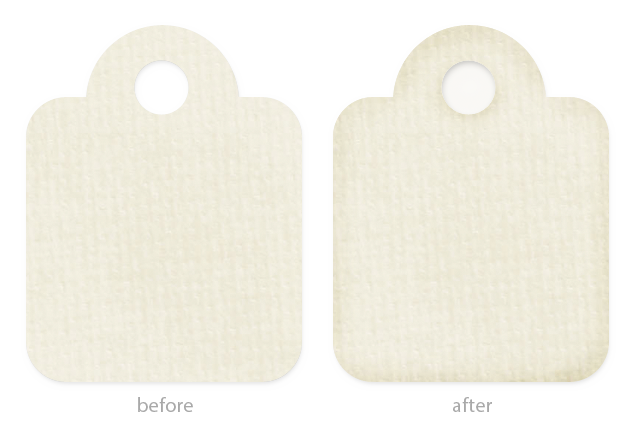
- Open an embellishment or background paper (File > Open) you’d like to ink. If you’d like to follow along with me, download this tag for practice.
- In the Layers panel, Ctrl click (Mac: Cmd click) on the thumbnail of the tag layer to get a selection outline.
- Click on the Create a New Layer icon.
- Double click directly on the name of the new layer and rename it INK.
Step Two: Choose an Ink Color
- Click on the Foreground Color Chip to open the Color Picker.
- On the document, click on the tag to sample a color.
- In the Color Picker, click to choose a slightly darker shade of that color and then click OK. I’m using Hex #d4cbb3.
Step Three: Brush on Ink
- Get the Brush tool.
- In the Tool Options, open the Brush Picker and choose a soft, round brush.
- Set the Mode to Normal and the Opacity to 50%. (PS: Also set the Flow to 100%.)
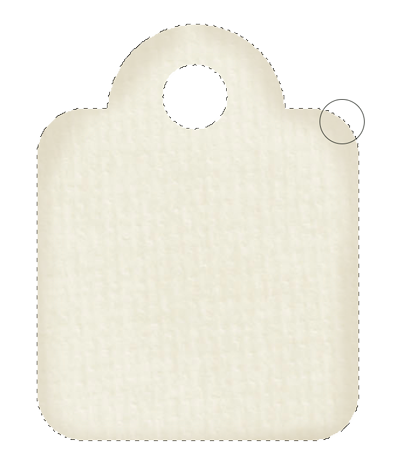
- On the document, hover your cursor near the edge of the tag and press the Right or Left Bracket keys to adjust the size of the brush. A small brush size will create a small inked edge. A large brush size will create a large inked edge. I’m using a 45px brush.
- Center your cursor on the selection outline and click and drag the cursor around the edges of the tag. Each pass of the cursor adds more color to the edge.
- Press Ctrl D (Mac: Cmd D) to deselect.
- To lessen the intensity of the ink, in the Layers panel lower the Opacity of the INK layer.
- To blend the ink into the tag, in the Layers panel, change the Blend Mode of the INK layer to Multiply or Darken.
- Save the tag as a PNG file with a unique name.
- Close the working copy without saving.
Method 2: Burned Ink Edges
Step One: Open a File and Prepare the Workspace
- Open an embellishment or background paper (File > Open) you’d like to ink.
- Press Ctrl J (Mac: Cmd J) to create a duplicate tag layer.
- In the Layers panel, double click directly on the name of the duplicate layer and rename it INK.

Step Two: Burn on Ink
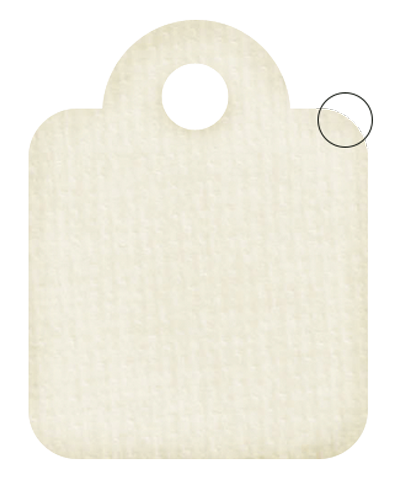
- Get the Burn tool. It’s nested with the Dodge and Sponge tools.
- In the Tool Options, set the Range to Midtones and the Exposure (Opacity) to 50%.
- Open the Brush Picker and choose a soft, round brush.
Note: You may wish to experiment with changing the Range to Shadows or Highlights. You will achieve different results with different images. It’s worth seeing the effect each range produces.
- On the document, hover your cursor near the edge of the tag and press the Right or Left Bracket keys to adjust the size of the brush. A small brush size will create a small inked edge. A large brush size will create a large inked edge. I’m using a 45px brush.
- Center your cursor on the selection outline and click and drag the cursor around the edges of the tag. Each pass of the cursor adds more color to the edge.
- To lesson the intensity of the ink, in the Layers panel lower the Opacity of the INK layer.
- Save the tag as a PNG file with a unique name.
- Close the working copy without saving.
Credits:
Kit: Christmas Lights by Julie Billingsley
Font: Brownhill Script

_____________________________________________
 Author: Jen White | Contact Us
All comments are moderated.
Please allow time for your comment to appear.
One Response
dorisedgar
Neat little tag and the shading really enhances it