Cut It Out
By Jenifer Juris
This time of year, presents are being wrapped, trees are being decorated, and cookies are being baked by the dozens. Each year, I see new cookie cutter shapes that make me want to get into the kitchen and start baking. Those cookie cutter shapes also inspired this tutorial; a cut out layered design that is sure to make your scrapbook page shine.
Step One: Prepare the Workspace
- Create a new 12 x 12 inch document (File > New > Blank File) at 300 ppi with a white background. (Photoshop: Choose File > New.)
- Get the Move tool.
Step Two: Make the First Layer
- In the Layers panel, click on the Create a New Layer icon.
- Click on the Foreground Color Chip to open the Color Picker.
- In the dialog box, choose a medium gray color and click OK. I used Hex Code #848484.
- Press Alt Backspace (Mac: Opt Delete) to fill the layer with the foreground color.

Step Three: Make the Second Layer
- In the Layers panel, click on the Create a New Layer icon.
- Click on the Foreground Color Chip to open the Color Picker.
- In the dialog box, choose a lighter shade of gray and click OK. I used Hex Code #c7c7c7.
- Press Alt Backspace (Mac: Opt Delete) to fill the layer with the foreground color.

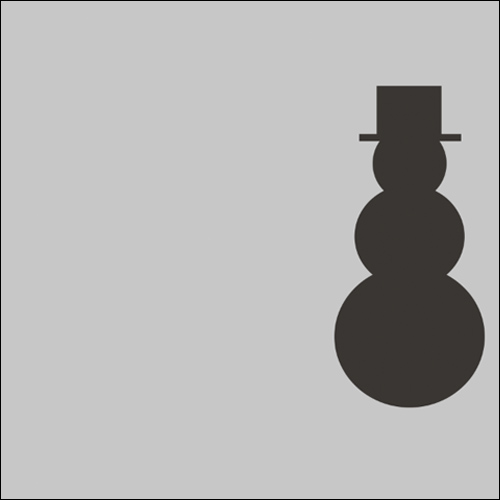
Step Four: Add the Shape
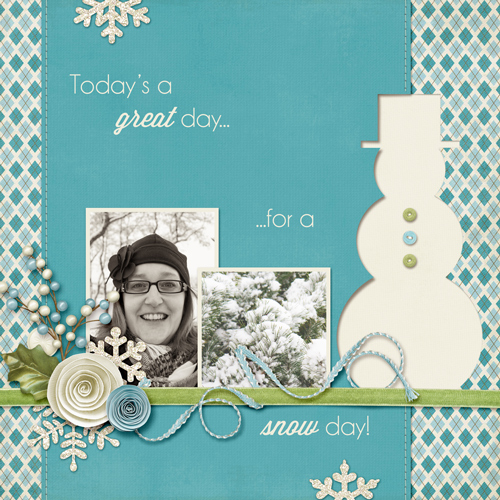
Next choose a shape you wish to use on your scrapbook page. If you’d like to follow along with my shape, download the snowman shape HERE.
- Open a shape (File > Open).
- On the document, click on the shape and drag it onto the scrapbook page.
- If necessary, Press Ctrl T (Mac: Cmd T) to get the Transform options.
- On the scrapbook page, click and drag from a corner handle of the Bounding Box to resize the shape. (Photoshop: Press and hold the Shift key while dragging to maintain proportion.) Click inside the Bounding Box and drag the shape into place. Click the checkmark to commit the transformation.
Step Five: Cut the Layer
- Get the Rectangular Marquee tool.
- In the Tool Options, click on the New Selection icon, set the Feather to 0 px, and the Aspect to Normal. (Photoshop: Set the Style to Normal.)
- In the Layers panel, activate the lighter gray layer.
- On the scrapbook page, click and drag a selection outline that cuts the shape you’re using approximately in half while making sure to go from the top of the scrapbook page to the bottom.
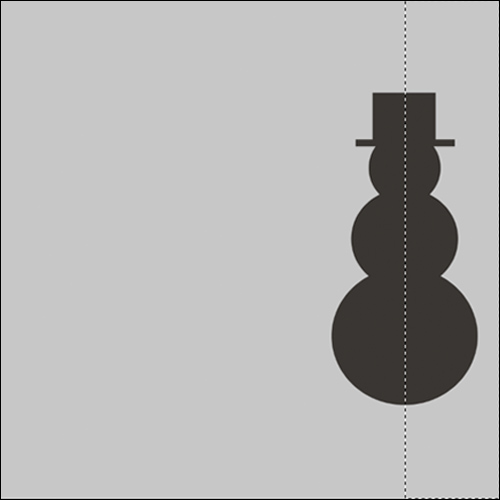
- Press the Backspace key (Mac: Delete key) to delete that portion of the layer.
- Press Ctrl D (Mac: Cmd D) to deselect.
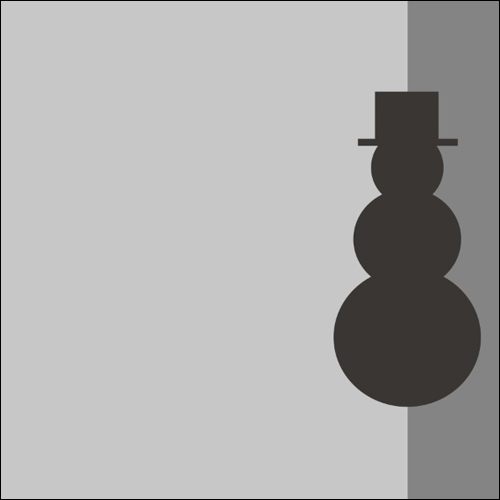
Step Six: Cut the Shape
Note: Before you do this next step, make sure the shape is where you want it, because moving it after this step will mean you have to start over.
- In the Layers panel, Ctrl click (Mac: Cmd click) on the thumbnail of the shape layer to get a selection outline.
- Activate the light gray layer.
- Press the Backspace key (Mac: Delete key) to cut out the shape.
- In the Layers panel, activate the medium gray layer.
- Press the Backspace key (Mac: Delete key) to cut out the shape.
- Press Ctrl D (Mac: Cmd D) to deselect.
- In the Layers panel, click on the shape layer and drag it to the Trash icon.
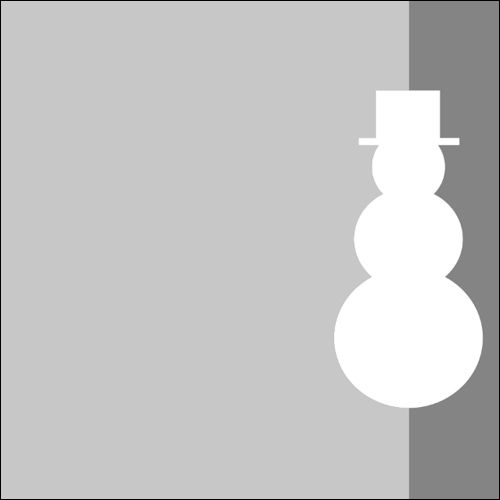
Step Seven: Complete the Scrapbook Page
- Use these layers as clipping masks for papers. If you need help using clipping masks, see these free videos HERE.
- Add drop shadows, elements, and other finishing touches to complete the scrapbook page.
As you can see, I finished my page in such a way that it really showcased the layered paper look. I did some extra cutting on the top layer to expose more of the paper that I had clipped to the bottom layer. The options are endless with this, and I can’t wait to see how you’ll use this idea! Please upload your creations to the Digi Scrap Tutorial Gallery so we can all see how you make this tutorial your own.
Credits:
Cut It Out Tutorial by Jenifer Juris
Christmas Lights by Julie Billingsly
Fonts: Caviar Dreams, Wisdom Script

_____________________________________________
 Author: Jenifer Juris | jenifer@digitalscrapper.com
All comments are moderated.
Please allow time for your comment to appear.
15 Responses
bthiels
I finished the cut-out tutorial and love it. But my “cut-out” doesn’t look so cut out. Can anyone give me tips on shadows and or bevels that will make the element look more cut out?
Jenifer Juris
I’m so glad you love it! One of the things I did was add a drop shadow to the top background layer (the light gray one). This should help make your cut out pop unless you decided to do it differently. I hope this helps but let me know if you need more than this. 🙂
Carol Henderson
Took me awhile to figure this out, but finally managed it. Great tutorial.
Jenifer Juris
Hi Carol – I’m so glad you liked it! Thanks for giving it a try!! 🙂
Mary (cheerio54)
This is a great tutorial, Jenifer! I love how the cutouts add such depth to the page!
Jenifer Juris
Mary – I’m so glad you liked it! I love the page you made with this tutorial, too!! 🙂
Shirl
I just love cutouts, and this is definitely a winner with its custom shadow and natural depth. I will give it a try. Thanks for the tut. 🙂
Jenifer Juris
Thank you so much! I’m so glad you liked it!! 🙂
Donna
Love this tutorial, Jen. This is so clever and useful!
Loretta
Super cute! Looking forward to trying this.
Jenifer Juris
Thanks so much Loretta! 🙂 Can’t wait to see how you use it!
Joann
how do I get inner shadow in the snow man?
Jenifer Juris
Hi Joann – on my page, I added a drop shadow to the light gray colored (top most) background layer. Hope that helps! 🙂
Kathy
Love this Jen! Can’t wait to do it!
Jenifer Juris
Thanks so much Kathy – love the layout you made using it, too!