Pretty Vellum Overlays
by Nannette Dalton
Create your own vellum paper and add a few shapest for a touch of elegance.
Step One: Prepare the Workspace
- Open a scrapbook page (File > Open) with which you wish to work.
- Press the letter D to reset the Color Chips to the default of black and white.
- Press the letter X to make white the Foreground Color Chip.
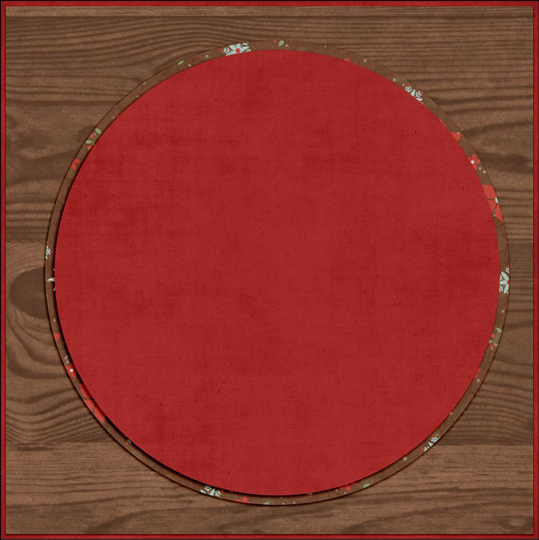
- In the Layers panel, click on the layer that you want to add your vellum to to activate it. In the example below, I’ve activated the red circular paper layer.
Here is the start of a layout I am making.
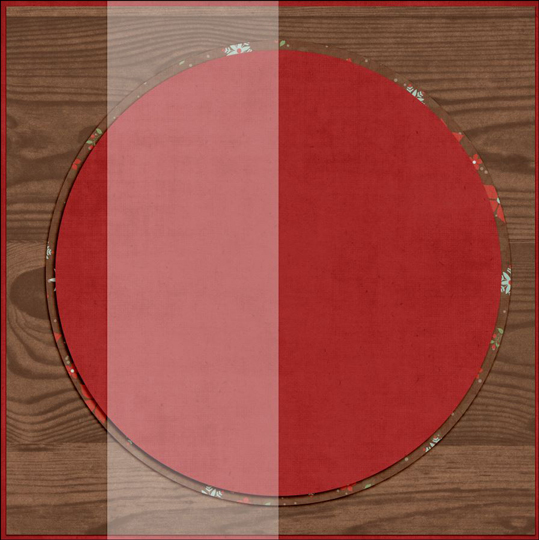
Step Two: Make the Vellum
- Get the Rectangle tool. It’s nested with the Shape tools.
- In the Tool Options, click on the Create New Shape Layer icon and set the Style to None. Open the Geometry Options and choose Unconstrained. (Photoshop: Set the Tool Mode to Shape and the Path Operations to New Layer.)
- On the document, click and drag to create a rectangle shape. To reposition while dragging, press and hold the Space bar.
- In the Tool Options, click Simplify. (Photoshop: In the Menu Bar, choose Layer > Rasterize > Shape.)
- In the Layers panel, set the Opacity of the rectangle layer to 35%.
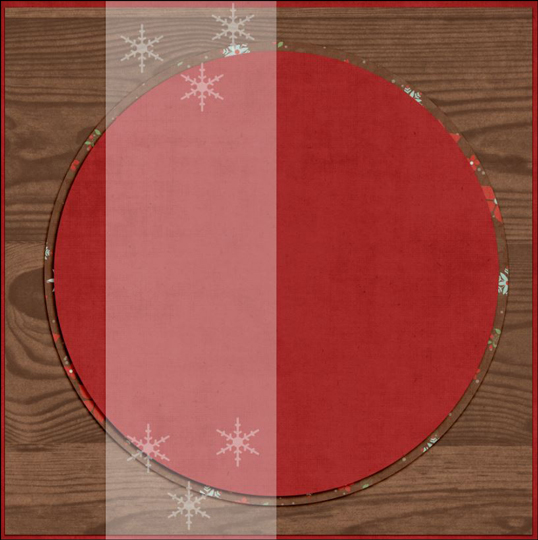
Step Three: Decorate the Vellum
- Get the Custom Shape tool.
- In the Tool Options, click on the Create a New Shape Layer icon. Set the Style to None. (Photoshop: Set the Tool Mode to Shape and the Path Operation to New Layer). Open the Geometry Options and choose Unconstrained. Open the Custom Shape Picker and choose Snowflake 1. If you don’t see Snowflake 1, open the fly-out menu and choose Large List. Then, open the drop-down menu and choose All Elements Shapes. (Photoshop: Open the menu, choose All, and click OK.)
- On the document, while holding down the Shift key, click and drag to create the shape. To reposition while dragging, press and hold the Space bar.
- Continue making snowflake shapes until you have a design that you like.
- In the Layers panel, click on the top snowflake layer to activate it. While holding down the Shift key, click on the bottom snowflake layer. Now all snowflake layers should be active.
- Press Ctrl E (Mac: Cmd E) to merge the snowflake layers.
- In the Layers panel, set the Opacity of the snowflakes layer to 35%.
- While holding down the Ctrl key (Mac: Cmd key), click on the rectangle layer. Now the snowflake layer and the rectangle layer should be active at the same time.
- Press Ctrl E (Mac: Cmd E) to merge the two layers.
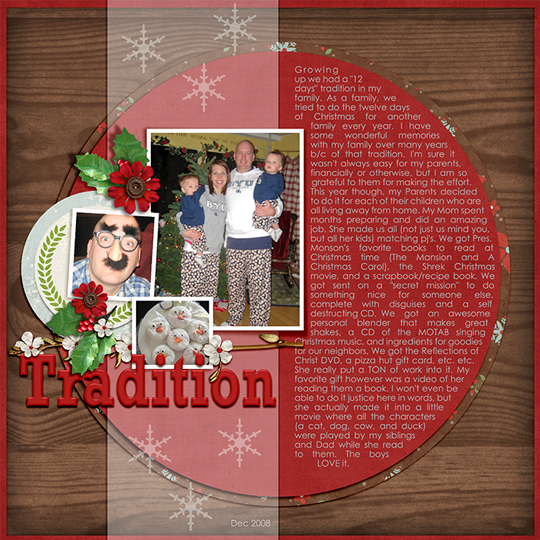
Here are a few other ideas using the custom shapes included in Adobe Photoshop and Photoshop Elements.

Wasn’t that easy? I love how the vellum draws your eye right to the photos without calling too much attention to itself. It also gives my layout a little more depth.
Credits
Page & Photos: Nannette Dalton, Misty Dalton
Kit: Christmas Wishes by Kristin Cronin-Barrow
Fonts: Rockwell, Century Gothic
Software: Photoshop Elements 14, Adobe Photoshop CC 2015

_____________________________________________
 Author: Nannette Dalton | Contact Us
All comments are moderated.
Please allow time for your comment to appear.
One Response
L Whitaker
Thank-you, I have a layout I am working on where this will be an added touch. Most timely. Happy Holidays!