Add a sense of movement to the background of your next card or scrapbook page by creating a quick starburst overlay.
Step One: Create a Black Document
- Create a new 12 x 12-inch document (File > New > Blank File) at 300 ppi with a white background. (PS: Choose File > New.)
- Press the letter D to reset the Color Chips to the default of black over white.
- Press Alt Backspace (Mac: Opt Delete) to fill the background with black.

Step Two: Add a Registration Target Shape
- Get the Custom Shape tool.
In Photoshop Elements:
- In the Tool Options, open the Shape Picker and choose the Registration Target 2 shape. Set the Style to None. Click on the Color Chip dropdown and choose white. Set the Geometry Options to Unconstrained and uncheck From Center. Click on the New Shape Layer icon.
If you do not see Registration Target 2 shape, open the dropdown menu and choose All Elements Shapes. Then, open the flyout menu and choose Large List. It’s located down near the registered trademark symbols.
In Adobe Photoshop:
- In the Options Bar, set the Tool Mode to Shape. Set the Fill to Solid Color and white. Set the Stroke to None. Set the Path Operations to New Layer and the Path Options to Unconstrained. Open the Shape Picker and choose the Registration Target 2 shape.
If you do not see Registration Target 2 shape, open the flyout menu, choose All, and then click OK. Open the flyout menu again and choose Large List. It’s located down near the registered trademark symbols.
Both Programs:
- On the document, hold down the Shift key and click and drag out the shape.
Note: The size or position of the shape does not matter in this step.

Step Three: Resize and Reposition the Shape
- Press Ctrl 0 (Mac: Cmd 0) to fit the document to screen.
- Press Ctrl T (Mac: Cmd T) to get the Transform options.
- In the Tool Options, set the Width and Height to 775%.
- Click the checkmark to commit.
- Get the Move tool.
- In the Tool Options, uncheck Auto-Select.
- On the document, click and drag to reposition the shape.
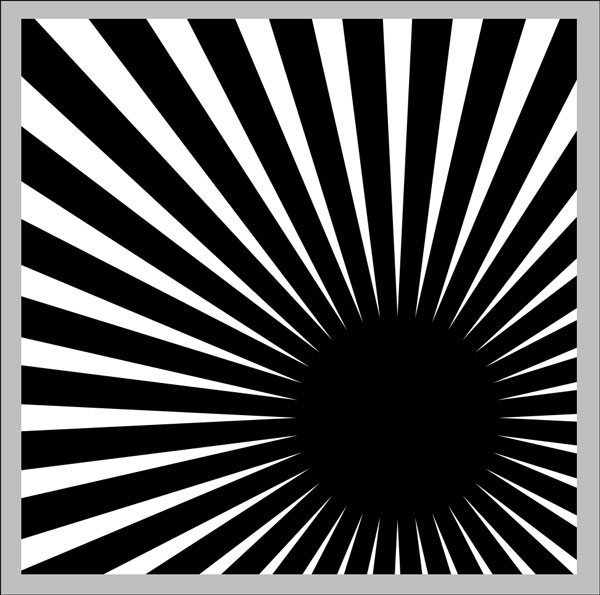
Starburst Tips and Inspiration
- The position of the center of the target is a natural place to put the subject of a scrapbook page or greeting card.
- The center can be repositioned at any time to change the focal point.
- The shape can be resized as many times as you want without it loosing quality.
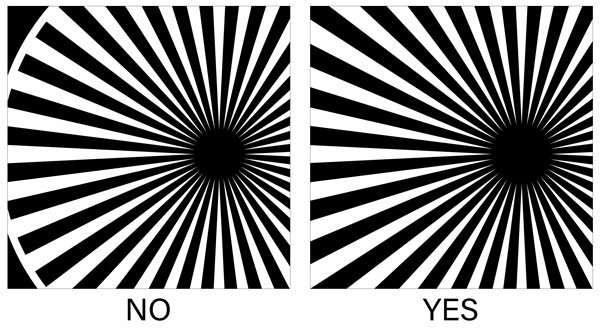
CAUTION: If you do resize the shape, make sure the rays extend past the edge of the document.
Step Four: Add a Background Paper
- In the Layers panel, click on the Background layer to activate it.
- Open a background paper (File > Open).
- Get the Move tool.
- Holding down the Shift key, click and drag the paper onto the starburst document.
- In the Layers panel, click on the starburst layer to activate it.
- Set the Opacity between 5% and 30%.

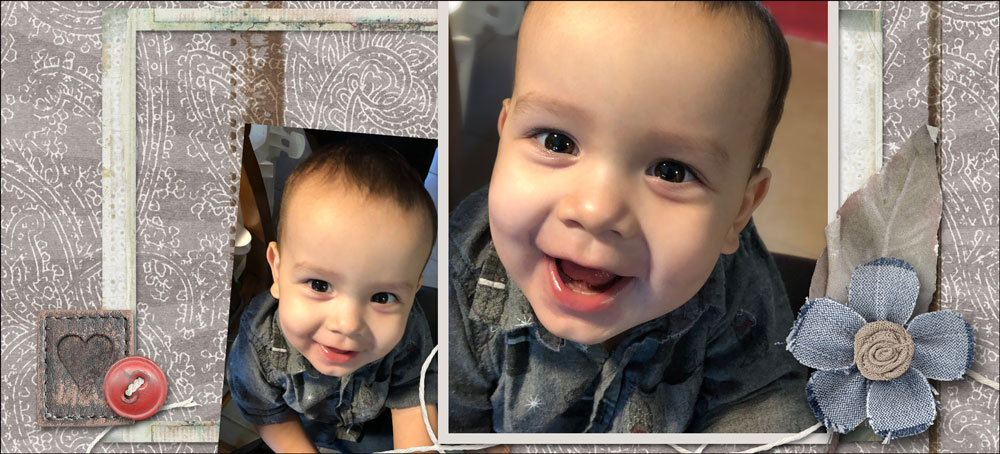
Here is how I used this tutorial on a scrapbook page. I’d love to see what you create. Please share it with us in our Community Gallery.

Credits
Page: Noah by Jen White
Kit: Charming by KimB Designs
Font: Aristelle Sans

This is an encore tutorial originally posted in 2011.
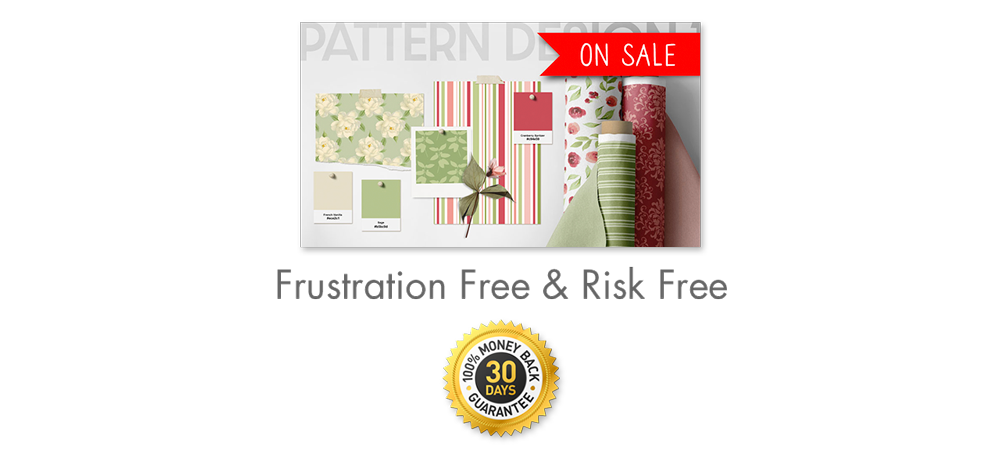
Go through the basics of pattern design and beyond by exploring
the five most-popular types and how to make them work in your designs.
Save 15% on Pattern Design 1
_____________________________________________
 Author: Jen White | Contact Us
All comments are moderated.
Please allow time for your comment to appear.
5 Responses
Vivian
This is pure genius. Thanks for sharing this tutorial!
Donna
I just commented on your layout in the gallery and didn’t realize it was a past tutorial. Thanks for bringing it to our attention again, Jen. I always love to go back and try these tutorials that I’ve forgotten about.
Janytime
Thanks so much! Great tutorial! Love playing with this idea!!
lisa
Thank you, Jen … i’ve always loved this look and now i can make my own!!! Thank you so much!
Jessie
Thanks, Jen! I had forgotten about doing this to create movement. An oldie but a goodie tutorial!