Outlined Doodle Element
by Jen White
Repurpose the doodles in your stash into trendy outlined elements.
Important Design Concept:
Doodles should never be given a drop shadow. They are meant to be used as if they were drawn onto a paper, just as in real life.
For this tutorial you will need:
- a digital doodle element.
What is a digital doodle element?
A digital doodle element is a black-line drawing, often freehand, saved as a PNG file with a transparent background. See several examples provided below.
Step One: Open a Doodle
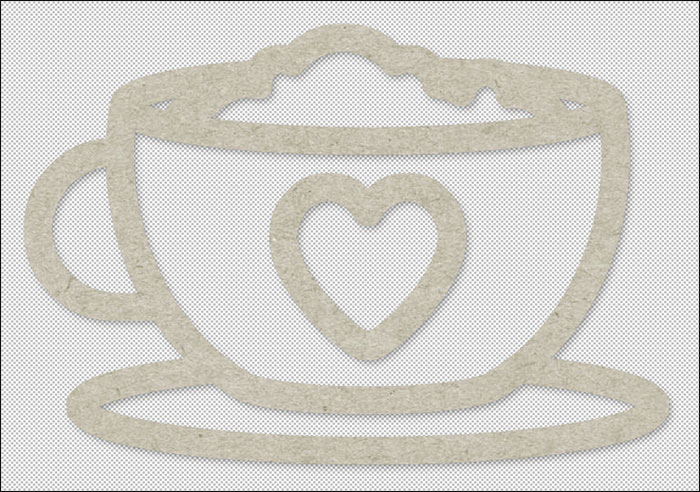
- Open a doodle (File > Open) of your choice. I will be using the coffee mug below.
Not all doodles are good for this technique. Here is what to look for:
• transparent background
• single, well-spaced lines
• smooth, non-pixelated edges
Here are some good examples: (Click on the image below to download these three doodles.)

Here are some bad examples. These doodles are more filled in and sketchy. They will not work well for this technique.

- In the Menu Bar, choose File > Duplicate. (PS: Choose Image > Duplicate.)
- In the dialog box, click OK.
- Close the original.
- Press the letter D to reset the Color Chips to the default of black over white.
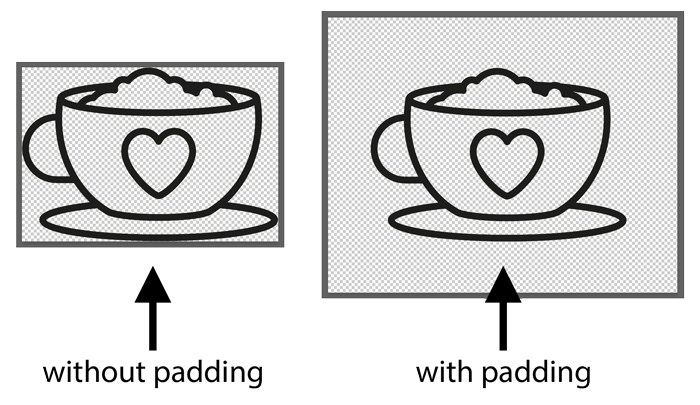
Step Two: Add Extra Padding
You will need extra space (padding) around the doodle in order to complete this tutorial. If your doodle already has extra padding, you can skip this step.
To add padding to a doodle:
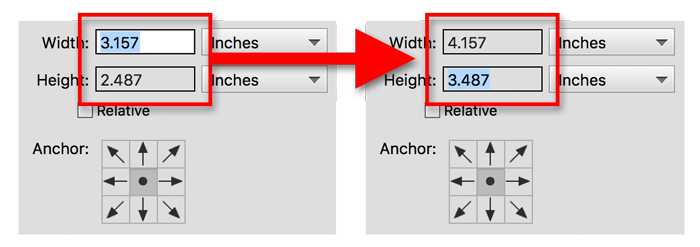
- In the Menu Bar, choose Image > Resize > Canvas Size. (PS: Choose Image > Canvas Size.)
- In the dialog box, adjust both the Width and the Height to be 1 inch larger. Uncheck Relative and set the Anchor to the center. Click OK.
Step Three: Select and Expand the Doodle
- In the Layers panel, Ctrl click (Mac: Cmd click) on the thumbnail of the doodle layer to get a selection outline.
- In the Menu Bar, choose Select > Modify > Expand.
- In the dialog box, set the Expand By to 6 px and click OK.
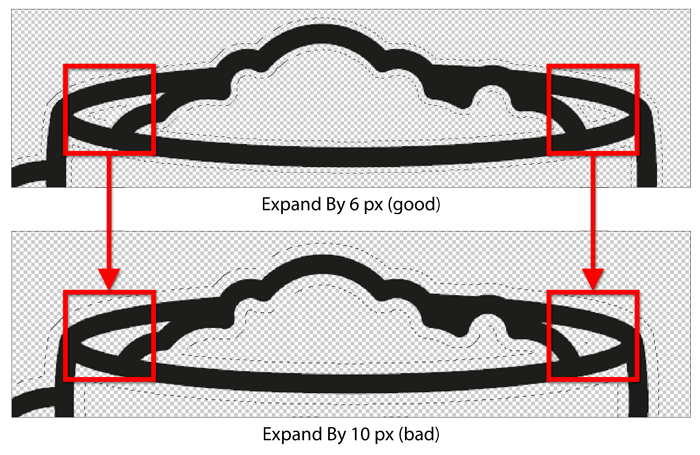
NOTE: The number of expansion pixels will vary per doodle. Before clicking OK, check to make sure your doodle is not loosing definition. See the illustration below.
In the first image, I expanded my selection by 6 px. The second image shows my selection expanded by 10 px, which was too much. The over-expanding caused me to loose the area between the whipped cream and the edge of the cup.
Step Four: Create the Outlined Doodle
- Press Ctrl Backspace (Mac: Cmd Delete) to fill the selection with white.
- Press Ctrl D (Mac: Cmd D) to deselect.

Step Five: Add a Drop Shadow
As mentioned above, you should never apply a drop shadow to a doodle. However, by using this technique to turn a doodle into an outlined element, a drop shadow is now necessary.
- In the Menu Bar, choose Layer > Layer Style > Style Settings. (PS: Choose Layer > Layer Style > Drop Shadow.)
- In the dialog box, set the Lighting Angle to 120˚. Click Drop Shadow to open it. Set the Size to 9, the Distance to 5, and the Opacity to 50%. Click OK. (PS: Set the Blend Mode to Multiply, the Opacity to 50%, the Angle to 120˚, the Distance to 5, and the Size to 9.)

Step Six: Clip a Paper to the Outline (Optional)
Most times I see these elements being used in their white form, but clipping a paper to them can be equally impressive.
- Open a plain background paper (File > Open).
- Get the Move tool.
- Holding down the Shift key, click and drag the paper onto the doodle document.
- In the Menu Bar, choose Layer > Create Clipping Mask.
Step Seven: Use and Save the Outlined Doodle Element
- To use the element on a digital project:
- In the Layers panel, click on the top layer (paper) to activate it, then Shift click on the doodle layer. Now both layers should be active.
- Get the Move tool.
- In the Tool Options, uncheck Auto-Select.
- On the document, click and drag the element onto another document.
- To save the element for later:
- In the Layers panel, click on the doodle layer to activate it.
- In the Menu Bar, choose Layer > Layer Style > Clear Layer Style.
- Save the element (File > Save) as a PNG file with a unique name.
- Close the working file without saving.
Here are two more before and after images using the additional doodles from the download (above).


Credits: Heart of Gold by KimB Designs, All About A Boy by Shawna Clingerman
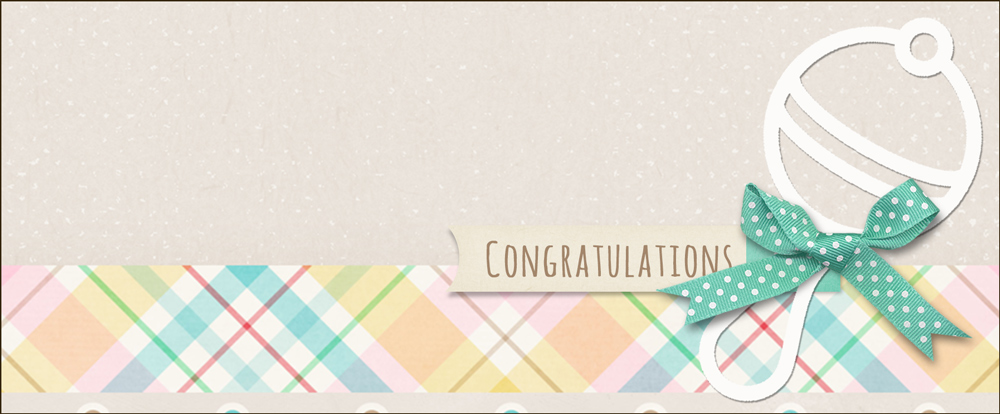
Here is how I used this technique on a greeting card.
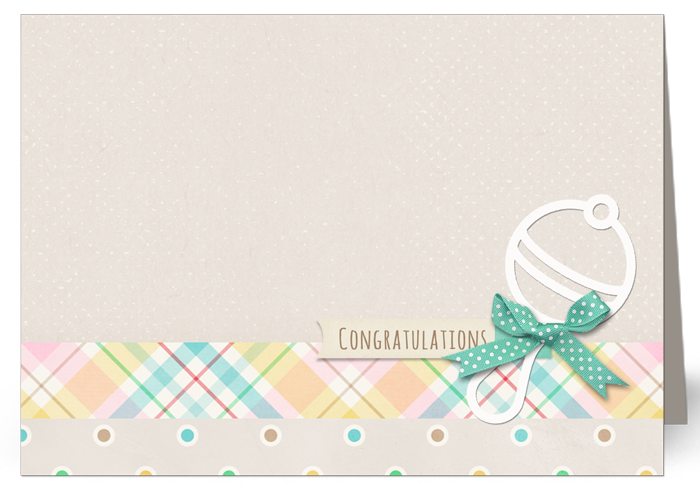
Credits:
Card: Congratulations by Jen White
Kit: Beautiful Morning by Amber Shaw
Font: Amatic SC
Learn how to select people and objects from photos
for fabulous effects!
Save 15% on Selections 2 for Photoshop Elements
Save 15% on Selections 2 for Photoshop


After posting your results online,
return here and include the link in the comments.
_____________________________________________
 Author: Jen White | Contact Us
All comments are moderated.
Please allow time for your comment to appear.
11 Responses
Terri L Fullerton
Thanks for reminding me of this. Your explanation is so simple and easy.
CrimsonCrow
This was a great tutorial. Some interesting ideas come to mind!
Su Hall
Thank you for the download AND the directions! Awesome effect!
Barbara
I always love the unexpected ideas that come in my e-mail.
Thanks Jen
Roberta Corson
Hi Jen,
A question: how does one color in a doodle, as you have done on the email page with the leaves. Thanks!
Roberta
Jen White
Glad you asked!! Thought I had a tutorial showing how to do that, Roberta, but I cannot find it. I’ll see if I can put something together for next week. So, keep an eye out for it. 😀
Sally Rinker
The email said there was a free doodle download, Don’t see it.
Jen White
Hi Sally. Click on the first image in Step One to download the set of three doodles. Hope this helps. 😀
Carol
Hi Jen. This is fabulous. Thank you for all you do to make us better scrappers.
Elisabeth
Hello! Thanks for all the ideas on repurposing doodles! I have to admit, that I haven’t really used them a lot, since I never knew what to do with them. But this will change now.
Marty (Notes)
I don’t have time to work on this now. I’m busy with Photo Rescue Blueprint. This looks like great fun down the line!