Hand Drawn Lines with the Liquify Filter
by Jenifer Juris
Add an authentic hand drawn touch to any project using the Liquify filter.
For this tutorial you will need:
- Photoshop Elements or Adobe Photoshop
Step One: Prepare the Workspace
- Create a new 7×5 inch document (File > New > Blank File) at 300 ppi with a white background. (PS: Choose File > New.)
- Press the letter D to reset the Color Chips to the default of black over white.
Step Two: Create the Lines
- In the Layers panel, click on the Create a New Layer icon.
- Get the Brush tool.
Photoshop Elements:
- In the Tool Options, open the Brush Picker and choose the Hard Mechanical 4 pixel brush from the Basic Brushes.
NOTE: If you don’t see the Hard Mechanical 4 pixel brush, open the flyout menu and choose Large List.
Adobe Photoshop:
- In the Tool Options, open the Brush Picker and choose the Hard Mechanical 4 pixel brush from the Legacy > Basic Brushes.
NOTE: To see the Legacy Brushes, open the flyout menu, choose Legacy Brushes, and click OK. To see the names of the brushes, open the flyout menu and check Brush Name.
All:
- In the Tool Options, set the Mode to Normal and the Opacity to 100%. (PS: Also set the Flow to 100% and the Smoothing to 100%.)
- On the document, while holding down the Shift key, click and drag a line.

NOTE: All brush lines will be created on the same layer.
- On the document, place your mouse where you want your next line to start.
- Click and hold the mouse without moving it.
- Holding down the Shift key, drag to create an additional straight line.

NOTE: If you don’t click before pressing the Shift key, Photoshop will connect the second line to the first line. If you accidentally do this, press Ctrl Z (Mac: Cmd Z) to undo the last step.
- Repeat the process to create additional lines.
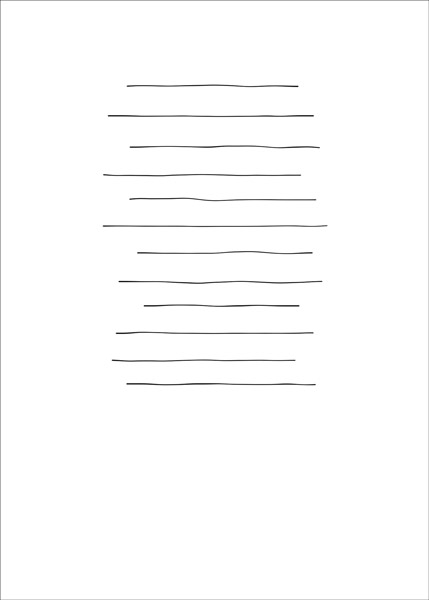
In order to reinforce the authentic hand drawn look, I’m varying the length and placement of my lines as well as the space between them.

Step Three: Apply the Liquify Filter
- In the Menu Bar, choose Filter > Distort > Liquify. (Photoshop: Choose Filter > Liquify.)
- In the dialog box, get the Pucker tool and set the Size to 125. (PS: Also set the Density to 50 and the Rate to 40.)
- In the preview, click and drag your Pucker brush over the lines to distort them.
NOTE: If you end up doing something you don’t like, press Ctrl Z (Mac: Cmd Z) to Undo the last step.
- Once you have distorted all of the lines, click OK.
Step Four: Crop and Save the Image
- In the Layer panel, click on the Visibility icon of the Background layer to hide it.
- Get the Rectangular Marquee tool.
- In the Tool Options, click on the New Selection icon and check Anti-aliasing. Set the Feather to 0 and the Aspect to Normal. (PS: Set the Style to Normal.)
- On the document, click and drag a rectangle around the hand drawn lines. To reposition while dragging, press and hold the Space bar.
- In the Menu Bar, choose Image > Crop.
- Save the image (File > Save As) as a PNG file with a unique name.
- Close the working document without saving.
Step Five: Use in a Project
Here are some tips for using these lines in a project:
- Use a handwritten style font to add to the authentic look.
- Add one line of type at a time. This allows you to place each line of type so it coordinates with the hand drawn lines.
NOTE: Using a text box will not work as easily due to the uneven spacing of the hand drawn lines.
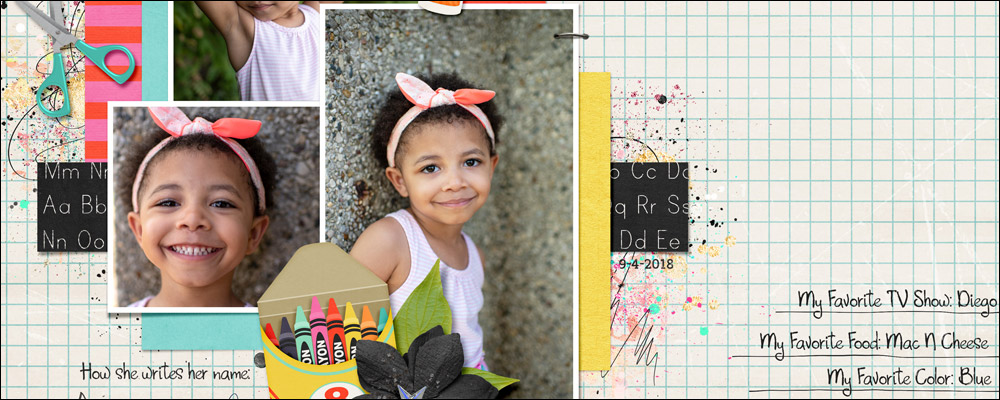
Here is the page I made using these lines for the journaling:
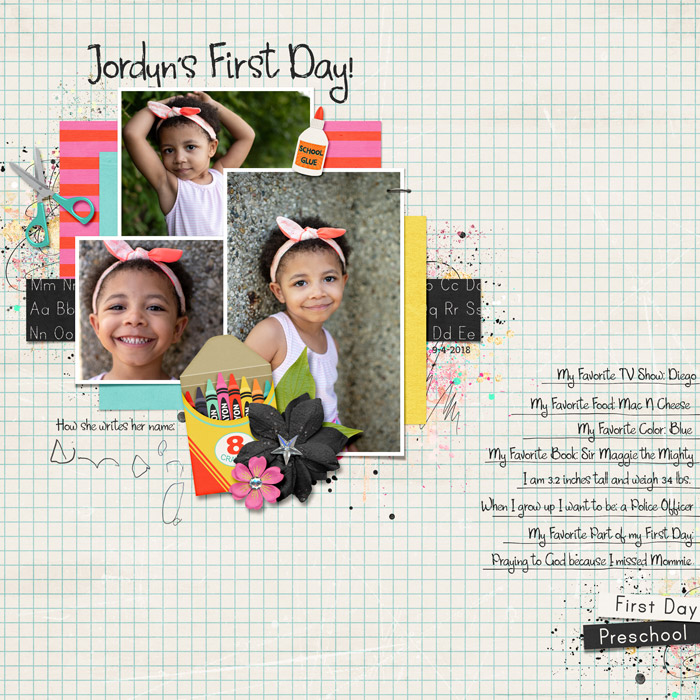
Credits:
Page: Jenifer Juris
Photos: Heather Allison Love Photography
Kit: Back to School by Studio Flergs
Extras: Paint from Kids Rule Collection by Simple Pleasure Designs
Font: Amplifier

Learn how to create impeccably crafted type
and attention-grabbing word art.
Save 15% on Secrets of Terrific Type
_____________________________________________
 Author: Jenifer Juris | Contact Us
All comments are moderated.
Please allow time for your comment to appear.
2 Responses
Anna Price
Hi Jenifer! This is brilliant, thank you so much! 💖
Carla
Such an easy application that really packs a great handwritten punch! Thanks for sharing this trick!