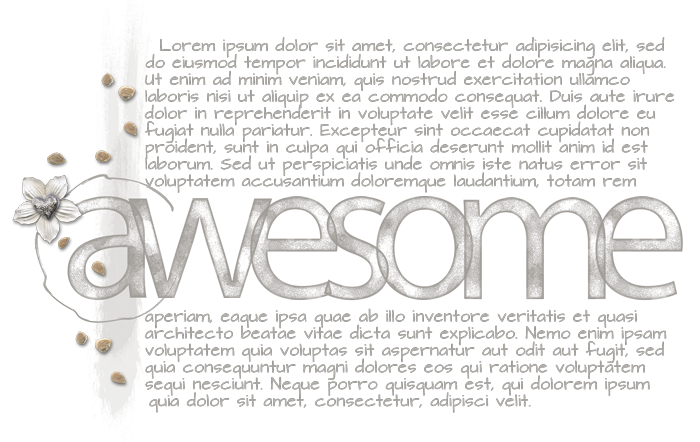
Geek out on type inside a shape by creating a free-flowing custom text box.
Step One: Create a New Document
- Create a new document (File > New > Blank File) at 300 ppi with a white background.
- Press the letter D to reset the Color Chips to black over white.
Step Two: Add a Shape
- Get the Rectangle tool. It’s nested with the Custom Shapes tool.
- In the Tool Options, click on the Color Chip and choose a color other than white. Set the Style to None and the Geometry Options to Unconstrained. Uncheck From Center. Uncheck Snap. Click on the New Shape Layer icon.
(Photoshop: Set the Tool Mode to Shape. Click on the Fill Color and choose a color other than white. Set the Stroke Type to None and the Path Operations to New Layer. Open the Path Operations and choose Unconstrained.) - On the document, click and drag out a rectangle.

Step Three: Subtract a Shape
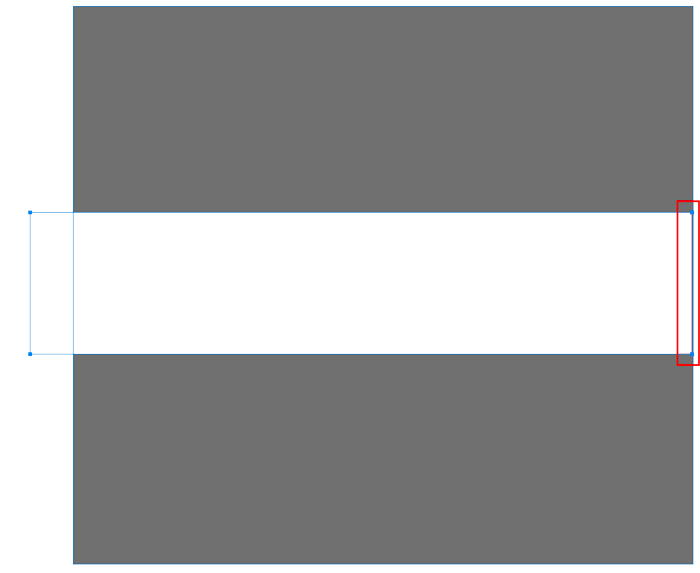
- Hold down the Alt key (Mac: Opt key). You should see a minus sign appear beside the cursor.
- Click and drag on the document, then let go of the Alt/Opt key and continue dragging.
- To reposition the subtracting shape, press and hold the Space bar while dragging.
- Let go of the mouse when there is only a tiny sliver of shape left to the right or the left of the subtracting shape.
Step Four: Create a Text Box
- Get the Horizontal Type tool.
- In the Tool Options, open the Font Picker and choose a font. Click on the Color Chip and choose black. Set the Size to 12 pt and the Leading to Auto. Set the Alignment to Left.
- On the document, hover your cursor inside one of the shapes until you see the Type Inside a Shape icon.
- Click inside the shape to place the cursor.
- Type any word. I typed the word TEXT.
- Click the checkmark to commit.
You should not be able to see the word you typed.
- In the Layers panel, click on the Visibility icon of the Shape layer to hide it.
Now you should see the word you typed.

Step Five: Add Some Journaling
- In the Layers panel, double click on the thumbnail of the type layer to activate the Horizontal Type tool and highlight the current text on the document.
- Type (or paste) in some journaling.
- Click the checkmark to commit.
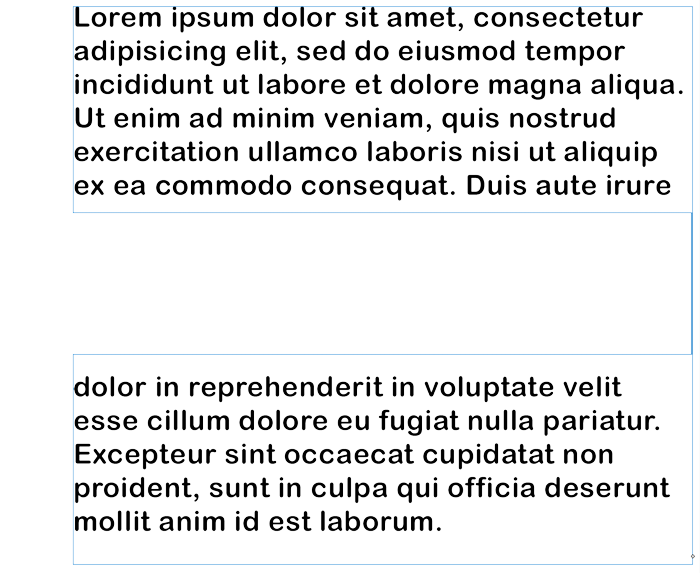
What just happened and why did it work?
Because there was not enough room for any of the letters to fit in the tiny sliver of text box between the two larger ones, the texted flowed freely from the top text box to the bottom text box.
Troubleshooting Free Flowing Text Boxes
- There must be a tiny sliver of text box connecting each of the bigger text boxes.
- If the sliver is too much, it will fill with fragments of your journaling.
- If the sliver is not enough (non-existent), it will break the magic of type flow from one box to the next.
Note: This tutorial will not work with boxes flowing left to right, only top to bottom.

Why would I want to do this?
- Opening up space in the middle of a text box can make room for a title or group of elements.
- After opening up the space, adding to or subtracting from your paragraphs of journaling will be super simple.
Credits:
Kit: Chasing Dragonflies by Brandy Murry
Font: Architects Daughter
Font: Architects Daughter
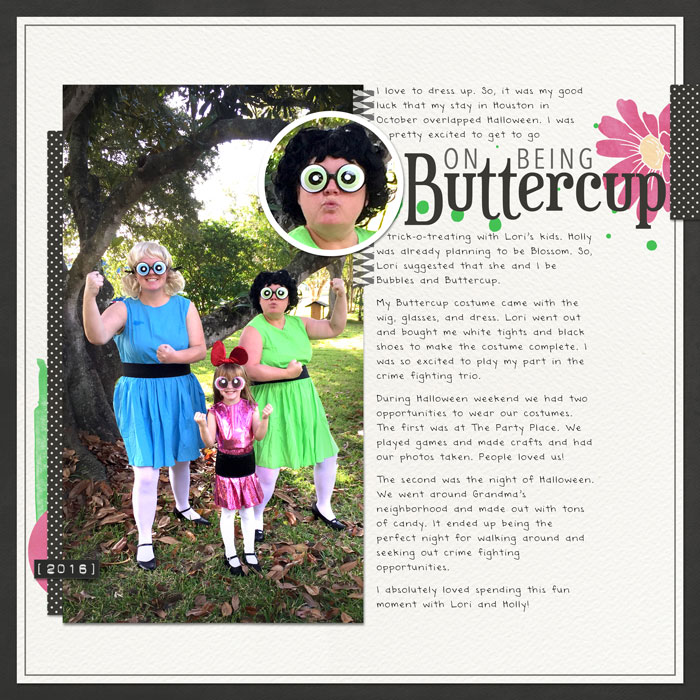
Here is how I used this tutorial on my scrapbook page.
Credits:
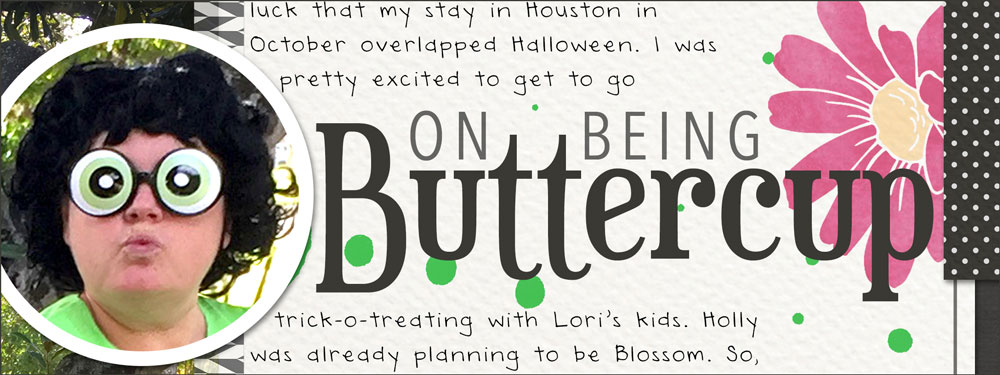
Page: Upon Being Buttercup by Jen White
Photos: Jen White
Kit: XOX by Brandy Murry
Fonts: DJB ANNALISE, Avenir Next Condensed, Euphorigenic
Fonts: DJB ANNALISE, Avenir Next Condensed, Euphorigenic

Learn how to create impeccably crafted type
and attention-grabbing word art.
Save 15% on Secrets of Terrific Type
*NOTE: This is not a new class. This sale cannot be combined with any other discount.
_____________________________________________
 Author: Jen White | Contact Us
All comments are moderated.
Please allow time for your comment to appear.
13 Responses
Dona
I’m using Photoshop CS4, and am not able to get the text to flow from one part of the rectangle to the other. It just flows across the gap. Is this because it’s too old for this new trick? I am getting the text-in-a-shape icon for the type cursor, so I know that part is working correctly. And the shape layer shows the vector mask with the two shapes—the top shape cutting out of the bottom, bigger rectangle.
Jen White
You’re never too old, Dona! 😀
The text is supposed to flow through the gap, but the gap needs to be smaller than the text so that the text does not show there.
if you see text in the gap, then the gap is too wide for the text you’re using. Hope this helps.
Judy
Is this still possible in the current version of Photoshop Elements? This has a specific Text on Shape option in the Text tool, but with only a limited set of shapes that I can’t customise. The Type Inside a Shape icon doesn’t seem to exist any more.
Jen White
Yes, free flowing text boxes can be created in any version of Photoshop Elements. 😀
Judy
Thanks for your prompt response. I’ve realised where I was going wrong. I kept searching all over the Internet for instructions and little seems to be available on this. But it is SO useful.
Vesta (Fanbird)
You are so smart and what a useable trick when creating designs for family flyers, cards and so much more. Thank you
ScrapSis
love. love, love this!!
Dorrie Harden
Great tutorial Jen. I’m tucking this one away for future use. You are soooooo clever!!!!
Terri
What a great idea Jen. Thanks for sharing your expertise! Your costume is just so fun. Love it!
Jenifer Juris
I agree – this is awesome and I wish I had thought of this myself! Great idea!! 🙂
Lisa
I love this tip – usually I just do 2 text boxes and try align them but your tip makes it SO much easier. Thanks!
and BTW -your costumes are fun!
Donna
I love your costumes, Jen, and your story. I’m going to try this trick of dividing my journaling too.
Linda Sattgast
You’re so clever, Jen! I’ve never thought to do that before, but I’ll definitely use this technique the next time I want to divide my journaling!