Photo Lineup
by Linda Sattgast
If you want to create a fun look with your photos that’s a little different than the usual, try a photo lineup using the Shape tool.
When I create a photo lineup, I like to design the lineup, and even add one or more layers styles, before I add the photos. That way I can be sure the lineup looks good and is sized right for the finished product, whether it’s a card, a scrapbook page, or something else.
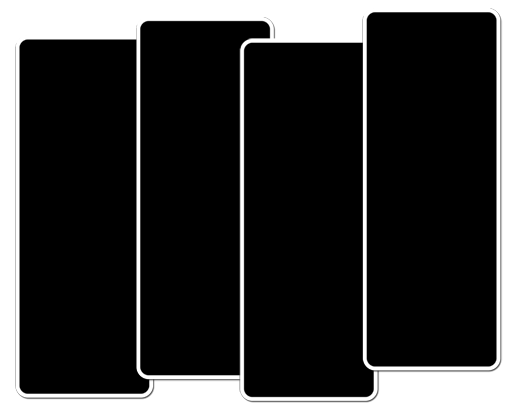
Below is an example of a lineup using the Rounded Rectangle tool. You can make the shapes any color you want, and it won’t matter because you’re going to cover them up with your photo. However, being the creature of habit that I am, I usually press the letter D to get black for the Foreground color, so that’s the color of my shapes.
As you can see, I added a white inner stroke outline and a drop shadow.
Once you have your shapes it’s easy to clip a photo to each of the shapes. The layer styles will show through to the photo. Then you can design the rest of your scrapbook page or any other kind of project.

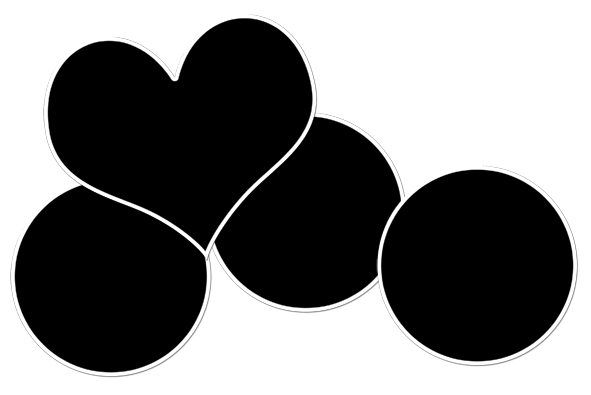
A photo lineup doesn’t have to be rectangular. Here I made a loose lineup of circles using the Ellipse shape tool and a heart shape from the Custom Shape tool. Again, creating the lineup first will help you keep the design in the forefront of your mind. You can always adjust the shapes later, but this way you aren’t distracted by the photos.
Here’s my finished scrapbook page using the design.
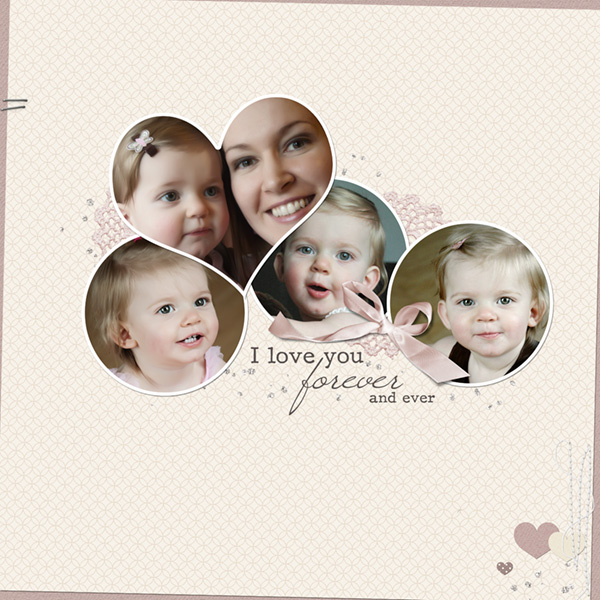
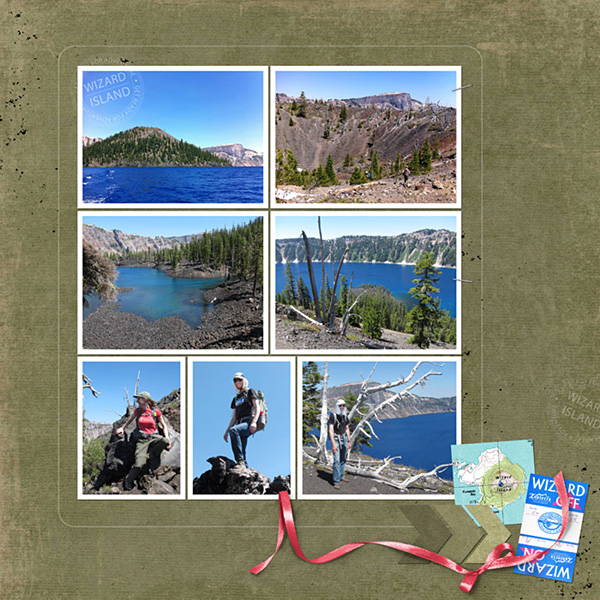
Photo clipping masks are a great way to create grid layouts as well. I always start with shapes when I want a grid design. I used the Rectangle shape tool with the following layout.
I love the ease of clipping photos to shapes! If you aren’t familiar with how to do this, click on the image below to watch a video that shows you how.
If you already know how to clip photos to shapes, I challenge you to make more use of shapes for designing your scrapbook pages, cards, and other projects!

_____________________________________________
 Author: Linda Sattgast | info@digitalscrapper.com
All comments are moderated.
Please allow time for your comment to appear.
18 Responses
Kathleen Larsen
What a great hint – to create everything first! Thanks!
Eileen
Fantastic! You make it so easy!!!!
Linda Sattgast
Glad you like it! 😀
Geri
Nice video, clear and easy to understand. Thank you, I will probably start going in this direction.
Barbara B
Such a fun idea! Thanks so much for sharing.
ginny
Love this technique – great ideas!!!!
Mary Kuhn
Just spectacular! simple, plain and very pretty. You notice the photo’s. Love these Linda. Thank you so much.
Linda Sattgast
Thanks, Mary! Glad you like it. 😀
Gayle Gillies
So glad you shared this idea & video with us Linda, thank you . . . can’t wait to try it. 🙂
REGINA SHANNON
Thanks so much. It certainly livens up even a plain page! The tutorials are always so clear and easy to understand. Thanks especially for writing them this way!
Annette
What gorgeous examples
Maggie
Thanks so much. Looks like fun and I will definitely have to try it.
Jenifer Juris
This is so fun! I will have to try this out!! 🙂
Linda Sattgast
Thanks—glad you enjoyed it! 😀
Kathy Black
Loving that idea!! I have ten things in my head already for it!! Thank you Linda!
KFM
Love the tutorial. Especially the one with the heart.
Thank You!
Scrapgirl
This is fantastic! I am going to try this right now. Thank you Linda.
Christine Bishop
Thank you, Linda! What a great idea and wonderful video!
Christine