
Add Color with a Custom Gradient Adjustment Layer
by Julie Singco
Quickly add color and preserve the texture of a paper using a custom Gradient Adjustment Layer with a Linear Burn Blend Mode.
For this tutorial you will need:
- The quick page from the download
- Photoshop Elements or Adobe Photoshop
Want to see what others are creating with this tutorial?
- Join & visit our Community on Facebook.
- Search and post using hashtag #DST and/or #ColorGradient
Click Here for the All-In-One Download
(video, card file & manual)
Watch the Video Tutorial


Card: Julie Singco
Kit: Autumn Days by Kristin Cronin-Barrow
Fonts: Lush Garden, Sorbet LTD
More pages created using this tutorial:
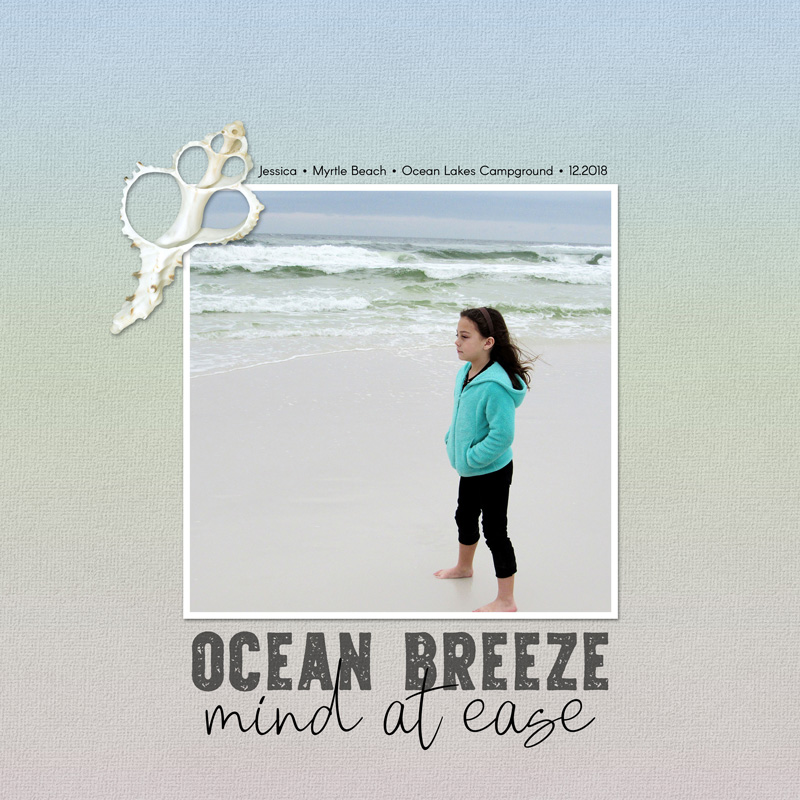
Page, photo and paper: Julie Singco
Kit: Ocean Breeze by Palvinka
Fonts: Arcon, Peach Blush, Fort Yukon Grunge
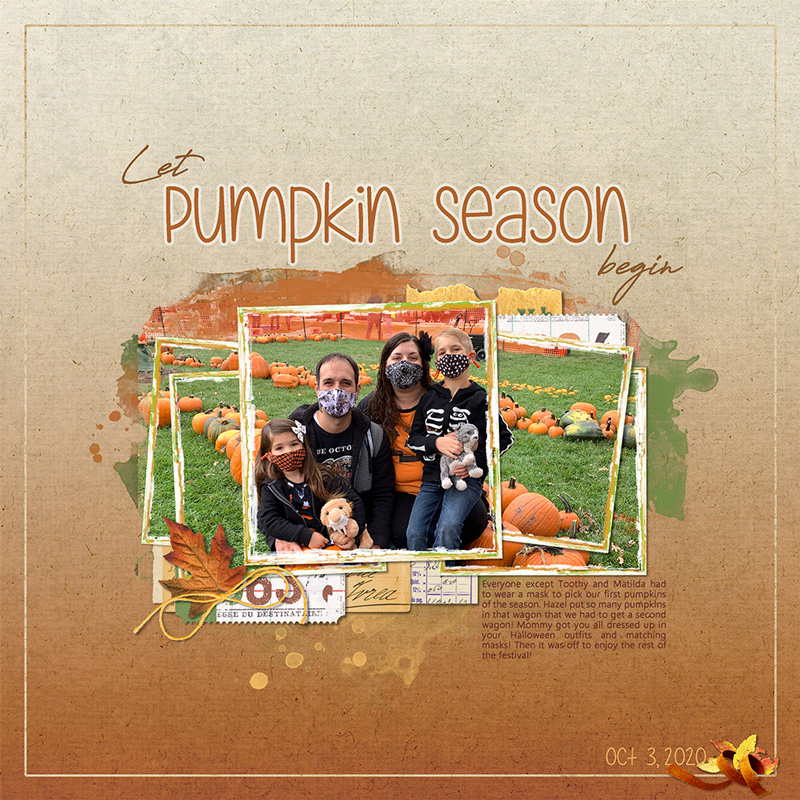
Page: Let Pumpkin Season Begin by Nanci Radford
Kits/Supplies: Season’s Change by Rachel Dickson, Autumn Days by Kristin Cronin-Barrow, Stamped and Framed Template and Collageable Pieces by Katie Pertiet, Thankful by Karla Dudley, Sproingy by Kim Jensen
Fonts: Are You Freakin Serious, Antro Vectra and Ebrima

Card by Carla Shute
Kits: Christmas Greetings 2 Snowflakes Brush by Jen White, Burlap Paper Set by Susie Roberts, 360 Degree Life: March 2019 by Aimee Harrison, Scandia Kit by Aimee Harrison, Up On The Rooftop Embellishment by DRB Designs
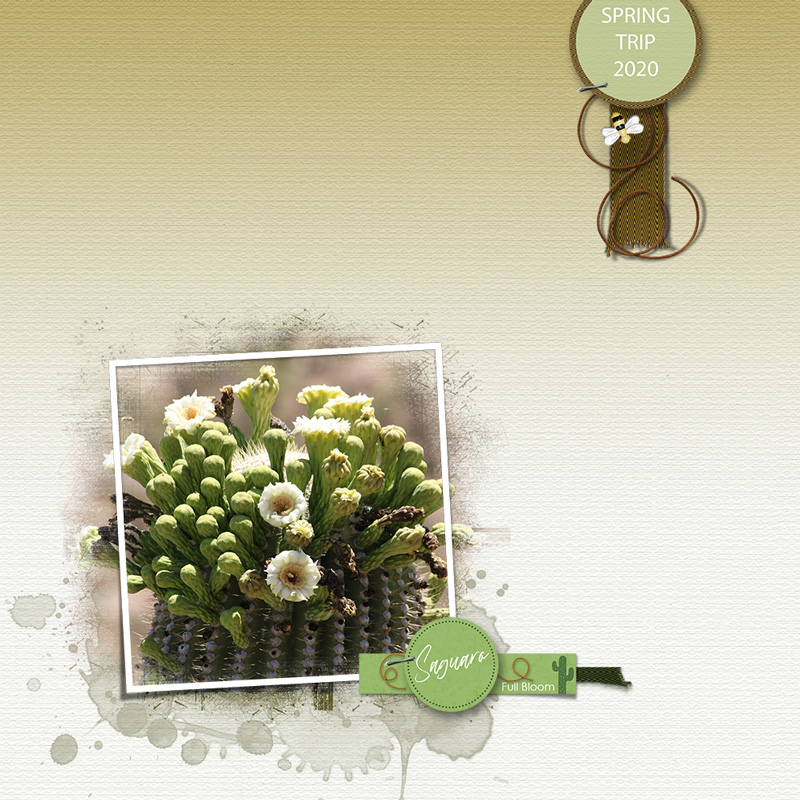
Photo & Layout: Val Sleger
Kit: Autumn Potpourri by Luv Ewe Designs, Frame: Anna Aspnes, Word Art circles & strip: Mine, created from Perfectly Personal Word Art by Jenifer Juris

Page and Photo: Felicity Farnsworth
Mask – Laura Burger, Paper – Melo Vrijhof, Tag – Jennifer Fehr
Fonts – Magnolia Sky and Architect’s Daughter
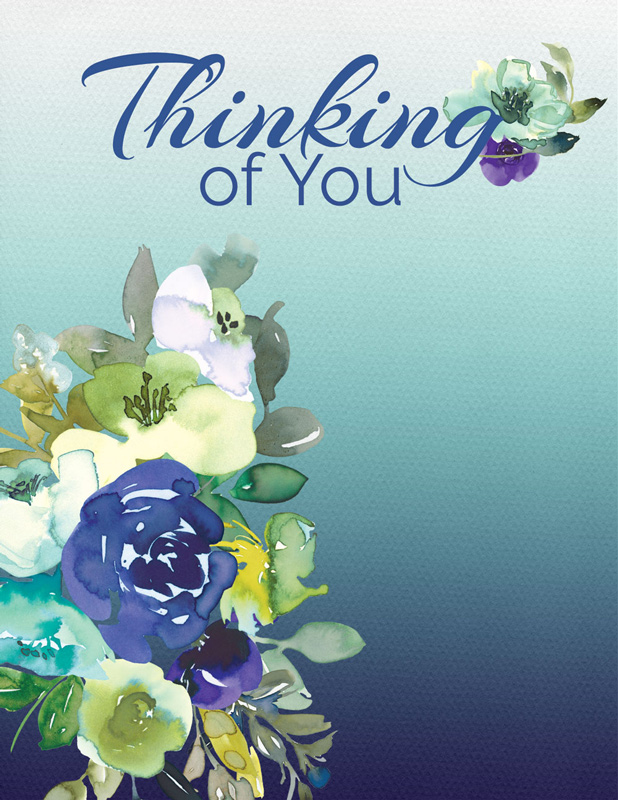
Card: Nancy Briechle
Tutorial: Using the Gradient Adjustment layer
Watercolor background paper: SRO watercolor paper 01, Flowers: Watercolor Floral freebie from Creative Fabrica
Fonts: Thinking font Arizonia, of You font Raleway Regular

_____________________________________________

Author: Julie Singco | Contact Us
All comments are moderated.
Please allow time for your comment to appear.
14 Responses
doris edgar
Thank You Julie.
This looks very interesting. I can’t wait to try it.
I so love this site. Have learned so much. Thanks to people like you with your lessons. They are so clear and precise. Thanks again.
Julie Singco
Thanks so much, Doris!
zita B
Thank you Julie! What a versatile tutorial – fun too.
Julie Singco
Thrilled to hear you enjoyed it, Zita!
Nancy M Olson
Thank you Julie, this is so cool and the applications are endless.
Julie Singco
You’re most welcome, Nancy!
Julie
Thank you! This looks like a wonderful tutorial. The cards and layouts are beautiful!
Julie Singco
You’re most welcome, Julie. I’m looking forward to the colorful pages from our Community members.
Cynthia Dennis
Thank you. I just love the weekly blog tutorials. Love seeing what others have created using this tutorial. Great inspiration.
Julie Singco
I’m thrilled to hear you enjoyed it, Cynthia!
Linda Sattgast
What a fun tutorial with such inspiring examples! Thank you, Julie and Creative Team!
Julie Singco
You’re most welcome, Linda! I had fun with this one. I’ve already printed the card and sent it to 3 different people, including my Mom.
Amma
Thank you!
Julie Singco
You’re most welcome, Amma.