Digital Die Cuts
By Nannette Dalton
About a year ago my husband bought me a Silhouette Cameo. It has opened up a whole new world of crafts for me—and along with that, a whole new way of looking at digital scrapping.
I love translating things from the paper world into the digital world. One of the fun looks you get with a cutting machine is when you meld shapes and fonts together to create something that the machine can cut out with everything staying attached. Let me show you how to re-create this same look in Adobe Photoshop and Elements. You know me; I love to have my cake and eat it too.
Step One: Prepare the Workspace
- Create a new 4 x 5 inch document (File > New > Blank File) at 300 ppi with a transparent background. (Photoshop: Choose File > New.)
- Click on the Foreground Color Chip to open the Color Picker.
- In the dialog box, choose a shade of Gray and click OK.
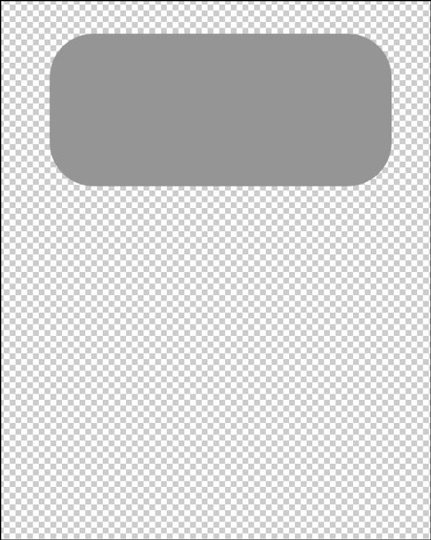
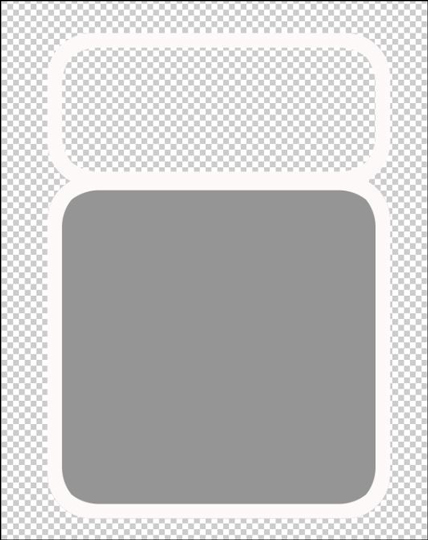
Step Two: Make a Shape
- Get the Rounded Rectangle tool.
- In the Tool Options, set the Style to None and click on the Create New Shape Layer icon. (Photoshop: Set the Tool Mode to Shape and the Path Operations to New Layer.) Open the Geometry Options and choose Fixed Size. Set the Width to 940 px and the Height to 420 px. Set the Radius to 120 px.
- On the document, click and drag slightly to create the rounded rectangle shape.
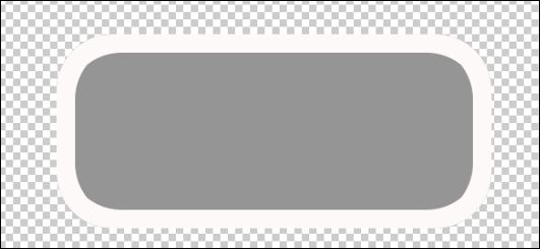
Step Three: Add a Stroke
- In the Layers panel, Ctrl click (Mac: Cmd click) on the thumbnail of the shape layer to get a selection outline.
- Click on the Create a New Layer icon.
- In the Menu Bar, choose Edit > Stroke (Outline) Selection. (PS: Choose Edit > Stroke.)
- In the dialog box, set the Width to 40 px. Click on the Color Chip, choose white, and click OK. Set the Location to Center, the Blending Mode to Normal, and the Opacity to 100%. Click OK.
- Press Ctrl D (Mac: Cmd D) to deselect.
Step Four: Add a Frame
Photoshop Elements Only:
- In the Layers panel, click on the shape layer and drag it to the Trash icon.
- Click on the Foreground Color Chip to open the Color Picker.
- In the dialog box, choose a shade of Gray and click OK.
- Get the Rounded Rectangle tool.
- In the Tool Options, set the Style to None and click on the Create New Shape Layer icon. Open the Geometry Options and choose Fixed Size. Set the Width to 940 px and the Height to 940 px. Set the Radius to 120 px.
- On the document, click and drag slightly to create the rounded rectangle shape below the stoke layer.
- Get the Move tool.
- On the document, click on the new shape and drag to position it slightly on top of the stroke.
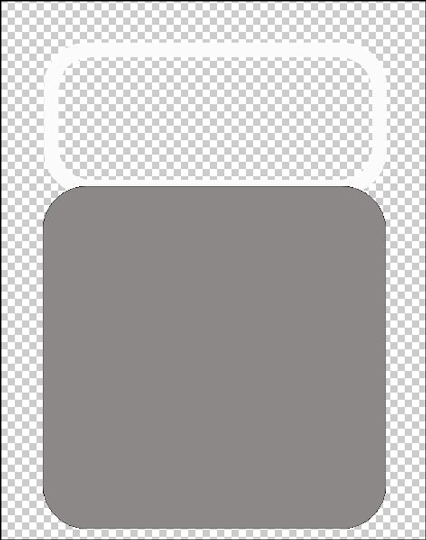
Adobe Photoshop Only:
- In the Layers panel, activate the shape layer.
- In the Menu Bar, choose Window > Properties.
- In the Properties panel, set the Height to 940 px.
- Get the Move tool.
- On the document, click on the shape and drag to position it slightly under the stroke layer.
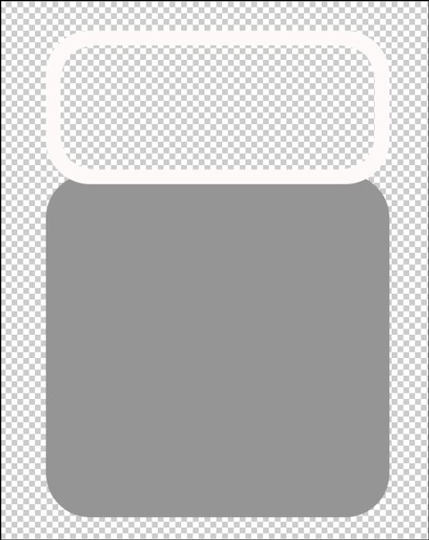
All Programs:
- Repeat Step Three to add a stroke above the shape layer.
Step Five: Save the Template
- In the Layers panel, while holding down the Ctrl key (Mac: Cmd key) activate all the layers except the gray shape layer.
- Press Ctrl E (Mac: Cmd E) to merge layers.
- In the Menu Bar, choose File > Save As.
- In the dialog box, enter a file name such as “layered-frame-template” and choose a location for the file. Set the Format to Photoshop, check Layers, and click Save.
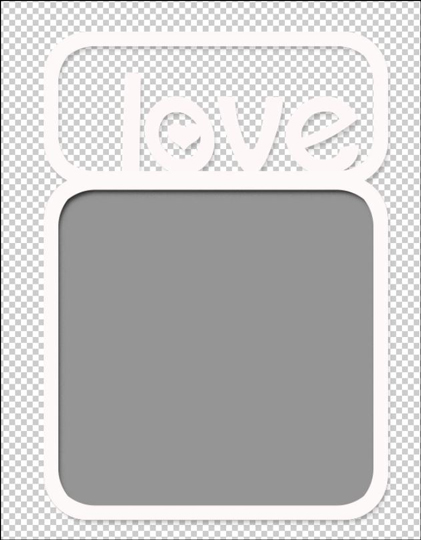
Step Six: Decorate and Flatten Frame
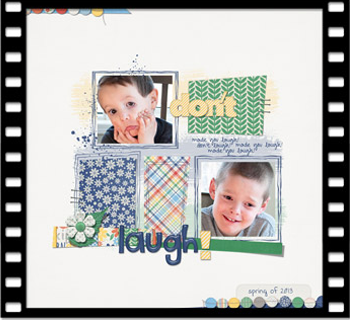
- Add text and shapes to your frame making sure that they touch the edge of the frame. The font I used on my frames is This Font is Bold by Darcy Baldwin.
- In the Layers panel, while holding down the Ctrl key (Mac: Cmd key) activate all the layers except the gray shape layer.
- Press Ctrl E (Mac: Cmd E) to merge layers.
- Add a small drop shadow to the merged layer.
You now have a frame template to use on your scrapbook pages.
Use the template layers as clipping masks. For more information about using grayscale templates and clipping masks, click HERE.
Have fun making all kinds of “cut files” for your digital pages.
**Added Bonus: If you own a Silhouette, save the merged layer of the template as a .png file. You can then import it into the Silhouette Studio software and cut it out—it’s a great way to do hybrid projects.
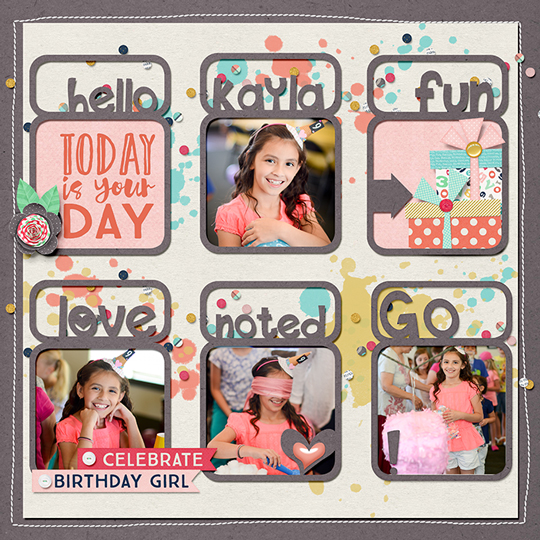
Credits:
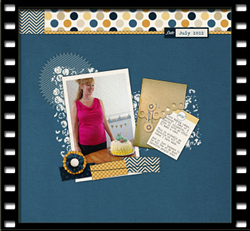
Page & Photos: Nannette Dalton
Kit: Make A Wish by Kim Broedelet
Extras: All Stitched Up by Susie Roberts
Font: This Font is Bold
Software: Photoshop Elements 12, Adobe Photoshop CC 2015

Interested in digging in deeper?
Hand-Cut Accents Video Tutorial
by Syndee Rogers-Nuckles
Create your own unique embellishments, cut from digital papers, using some simple selection techniques.
![]()
Scalloped Paper Envelope Video Tutorial
by Christina Rambo
Create a cute crafted paper envelope with a scalloped edge flap to use as an accent on your scrapbook pages.![]()
Scraps and Sketches Video Tutorial
byBarb Brookbank
Use shapes and the Transform Options to create a grid template that appears to be made of scraps of paper. Learn how to create sketched lines to add a bit of handmade charm.
![]()
_____________________________________________
 Author: Nannette Dalton | Contact Us
All comments are moderated.
Please allow time for your comment to appear.
8 Responses
Sue
On Step Two: Make a Shape there seems to be an error. When you set the width to 940 px x height 420 px the shape is way out of perportions for the 4w x 5h size of the new document. Please clarify.
Nann Dalton
Hi Sue, I believe the directions are correct.
I am wondering if your 4 X 5 Document is a 300 ppi size document, like it says in Step One. If yours is smaller than 300 ppi this would make the shape bigger than the document. Let me know if that helps.
Andrea Graves
Nann!
You never cease to amaze me! This is such a cute a clever idea! Love it!
Nann Dalton
Andrea! Thanks so much, such a sweet friend!
Donna
I like this too, Nann! Just my style.
Nann Dalton
Great!
Jenifer Juris
This is awesome!! So gonna have to try this! 🙂
Nann Dalton
Thanks so much Jen!