Hand-Torn Accents
by Nannette Dalton
This technique is inspired by Syndee Nuckles’ tutorial, Hand-Cut Accents. Her creative idea is a wonderful way to help stretch a kit and make it work for you.
Today I want to take Syndee’s tutorial to the next level. Instead of hand-cut accents, let’s make hand-torn accents.
This technique will work great not only for the cute little flowers in Syndee’s tutorial, but also for things like the edge of a paper, alphas, or any shape to which you want to give a handmade feel. The sky’s the limit! Let’s go!
Step One: Duplicate the Element
- Open the layered scrapbook page (File > Open) with which you wish to work.
- In the Layers panel, activate the element that you want to tear. (From now on I will call the element a flower since that is what I am using.)
- Press Ctrl J (Mac: Cmd J) to duplicate the flower.

Step Two: Add a Style
- Download the DS-Tear style here.
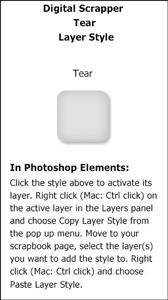
- Install the Layer Style. You can find instructions for how to install the style for your version of Photoshop or Photoshop Elements here.
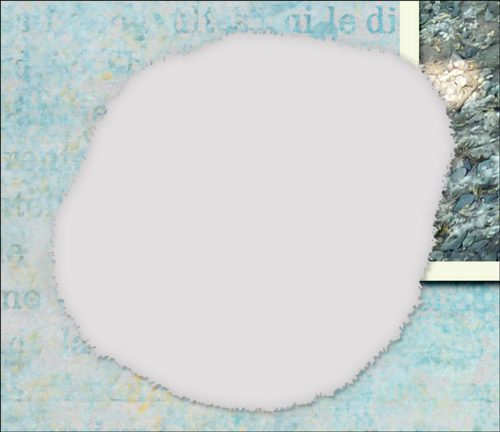
- In the Layers panel, click on the Visibility icon of the top flower layer to hide it.
- Activate the bottom flower layer.
Elements
- In the Effects panel, click on Styles.
- Double click on the DS-Tear style to apply it to the bottom flower layer.
Photoshop
- In the Menu bar, choose Window > Styles.
- In the Styles panel, click on the DS-Tear style to apply it to the bottom flower layer.
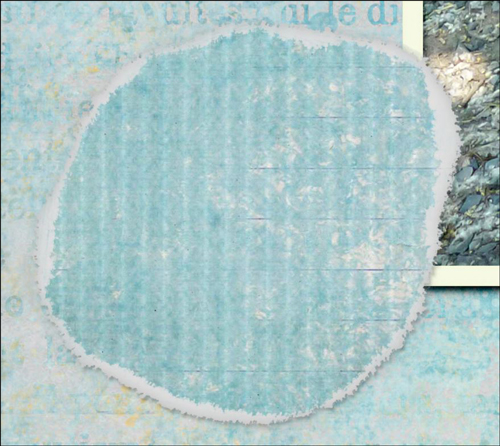
Step Three: Erase the Edge
- Get the Eraser tool.
- In the Tool Options, open the Brush Picker and choose the Rough Round Bristle brush. If you don’t see the Rough Round Bristle brush, open the drop-down menu and choose Default Brushes. (Photoshop: Open the fly-out menu, choose Reset Brushes, and click OK.)
- In the Tool Options, set the Size to your liking for the size of the element you are using. Mine is set to 100 px. Set the Mode to Brush (Photoshop: set the Flow to 100%.)
- On the document, using small back and forth movements, click and drag to erase the edge of the grayed flower just enough to roughen it up a bit.
Note: Using a back and forth movement like scrubbing will get rid of any stray pixels.
- In the Layers panel, activate the top flower layer and click on the Visibility icon to make it visible again.
- On the document, click and drag to erase the edge of the top flower revealing the gray layer below.
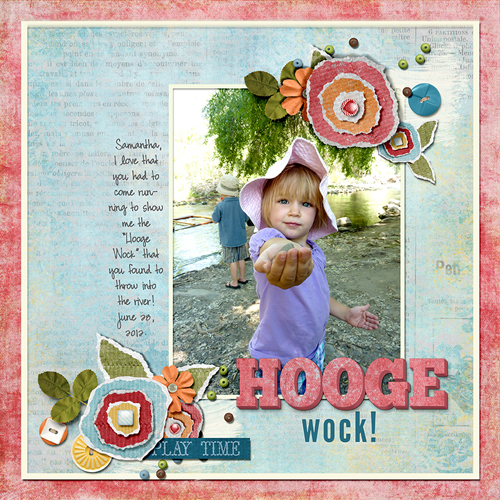
Here is my finished layout. I love how the tears look on my hand-cut and hand-torn elements.
Credits:
Digi Scrap Tutorial: Hand Torn Accents by Nannette Dalton
Layout: Hooge Wock by Nannette Dalton
Kit: We Are Family by Dianne Rigdon; June 2013 Premier kit
Other elements: Heartbeat at My Feet by Zoe Pearn
3-D letters: Made using Linda Sattgast’s Custom Shadow Mastery 2 Module 2 video tutorial
Cardboard texture on flowers: The Art of Blending1 Class by Linda Sattgast
Video Tutorial: Hand-Cut Accents by Syndee Nuckles
Fonts: Chunk Five, DJB I feel Pretty
Software: Photoshop CC, Elements 12
If you enjoyed this tutorial, you might also like:

_____________________________________________
 Author: Nannette Dalton | nann@digitalscrapper.com
All comments are moderated.
Please allow time for your comment to appear.
Leave a Reply